Server:Server Status

Welcome to Joe’s Paint Job Exposition

So I painted my Xbox, and I think it looks wicked. It was a bitch to do, since it's so complex. First, dismantle the xbox, you can figure out how to do that. There's a few pieces, the top, and the front, and the front is a bitch to get off, use a screwdriver to get the edge of the front off and then pop the clips on the inside front. Finally, remove the piece around the buttons. That's a lame description, but you'll figure it out.
So, I did 3 colors, and some heavy masking to get a lot of detail. First, I painted the top and main front piece (not button piece) with a black, glittered paint. I chose the glittered paint since it went on metallic looking and really catches the light well, drawing attention to it. It also came out looking very subtle in low light, making it look like it's just the color of the plastic. Afterwards, I masked the parts I wanted to stay black, and painted everything else (including all of those crevaces) with the metallic green, once again with glitter and all. Finally, I masked the little crevaces (Made U-shaped tape pieces and stuck them in there with a flat head screwdriver) and gave it the silver. I painted the button piece the silver. You can see the green areas include the controller ports, the controller numbers (with silver highlights) and the the jewel hole. The silver is on the xbox word on the drive tray. All in all I think it turned out really nice, and though it was a ton of work would do it again all the same.
Paint 1
Paint 2
Paint 3
Paint 4
Paint 5
Paint 6

- - - - - - - - - - - - - - - - - - - - - - - - - - - - - - - - - - - - - - - - - - - - - - - - - - - - - - - - - - - - - - - - - - - - - - - - - - - - - - - - - - - - - - - - - - - - - - - - - - - - - - - - - - - -

Welcome to Joe’s Jewel Mod Guide!


God, this project was almsot not good. I'd post pictures, but I'm too embarassed, the reason that I had to do this at all was that I tried to take the original jewel, sand the back off and have a clear one, but when I did that I accidentally melted the jewel. So, I pick up what was left of my dignity and ordered a new jewel from www.gameconsoleskins.com. Notice that's not a link, I'm not so happy with them which you'll learn about soon. I decided to get a platinum jewel, since I had already done the paint job and it matched. Let's see what the sent me:
Jewel 01
Notice anything odd? Look again:
Jewel 02
THERE'S A HUGE HAIR IN MY JEWEL!!! I mailed them and they said they'd send me a new one but never did, so screw them!!! I also didn't know I would have their ugly insignia in my jewel forever, and didn't know that the thing wasn't rounded but basically a cylindar. Plus, the letters "XBOX" aren't carved but etched, so you can't even put it on the old spot, since the old carved letters used fit on the little ridges on the case. All in all, a complete waste of 10 dollars.
I'm not one to waste 10 dollars, so I set out to improve it. First, I peeled off the sticky and that lame silver pad, so that the jewel is just the silver and the etched letters "XBOX" which are actually clear when the silver is gone. After much thinking, I decided to light it with green LED's. I made the circuit of 4 of them, alternating above and below each letter. After soldering them and bending them into place, I used hot melt glue as a way to hold them there, and to disperse the light. Finally, I made a plug and soldered that on. Here's the result:
Jewel 03
And Again:
Jewel 04
So, to have a jewel with lights, you need power. I tapped the 12V from the HDD power plug. You can see, I made a little plug for it and soldered it to the wires, which I eventually taped over to shield them. Pretty simple.
Jewel 05
So this is what the Jewel looks like with the power off:
Jewel 06
And, finally, on:
Jewel 07
In order to mount the jewel, you need to cut a hole, but you also need to leave a lip for it to sit in. Notice the ridges the original jewel fit on but the new one just sits on top of.
Jewel 08
Here was my sketch of the cut.
Jewel 09
And this is after my professional dremel cut (I did this in my kitchen and ate plastic particles for like a month)
Jewel 10
SO, finally, this is what it looks like with the jewel in place, and the Xbox on. I think it's tight, and it matches the silver and green theme too. Plus, the contrast of the letters hides the hair in the front, which is obviously visible if you look (though hard to see int he pics)

- - - - - - - - - - - - - - - - - - - - - - - - - - - - - - - - - - - - - - - - - - - - - - - - - - - - - - - - - - - - - - - - - - - - - - - - - - - - - - - - - - - - - - - - - - - - - - - - - - - - - - - - - - - -

IR Dongle Mod

This was clearly the most complex mod I did. I wanted to have the IR dongle always connected, but I hated that stupid dongle and how I had to remove it to ever use that 4th port. I saw this on the www.xbox-scene.com tutorials site, and tried it for myself.

IR Dongle 01
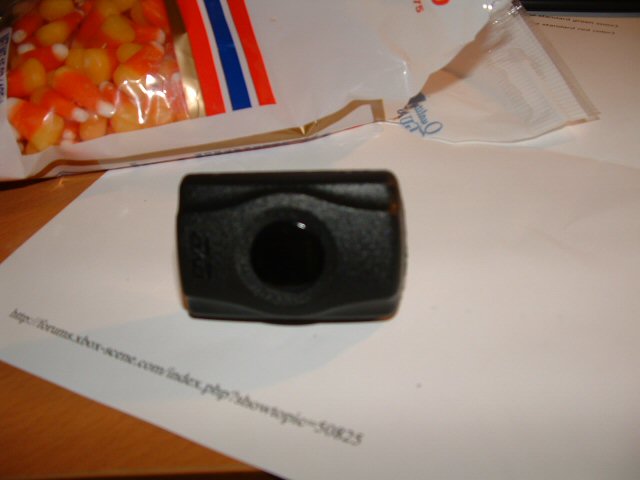
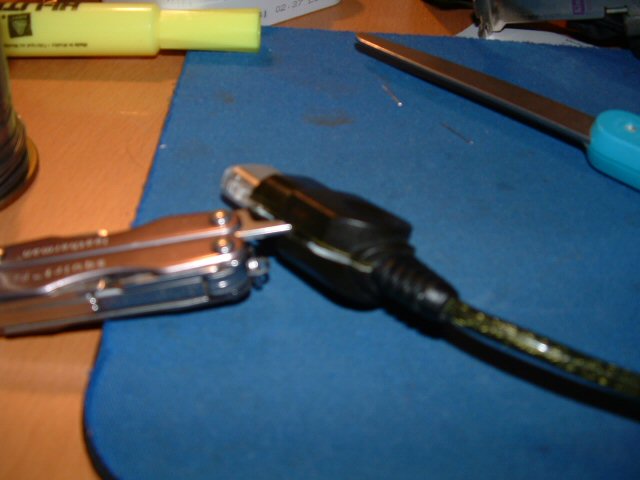
Here's the dongle I got. I should apologize now, I didn't think to use the macro function on my camera so all these pictures are crappy.
IR Dongle 02
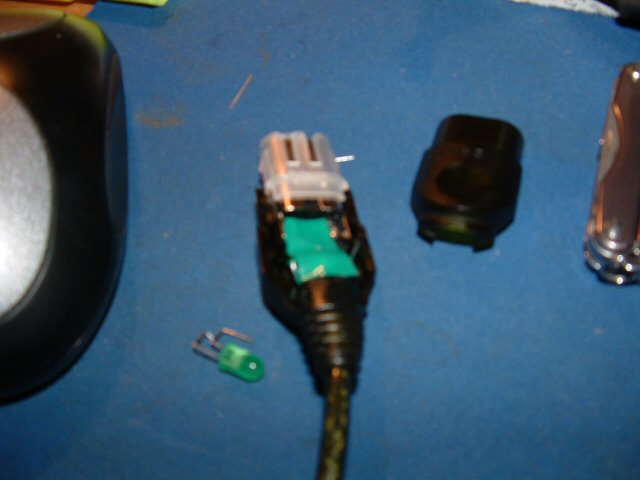
I opened it up, you can see the IR receiver.
IR Dongle 03
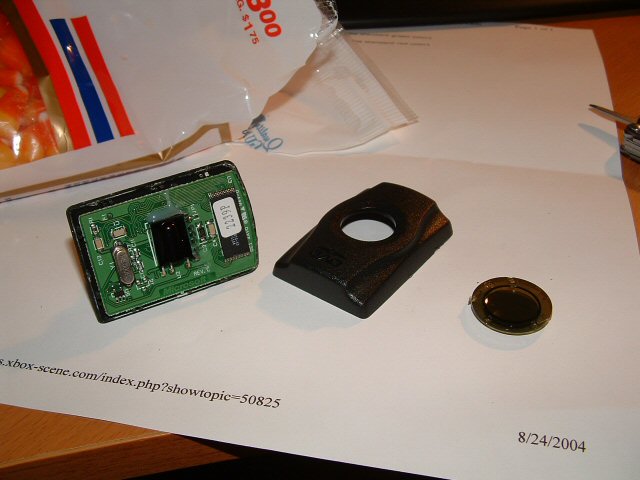
This IR screen will come in handy later, so I kept it.
IR Dongle 04
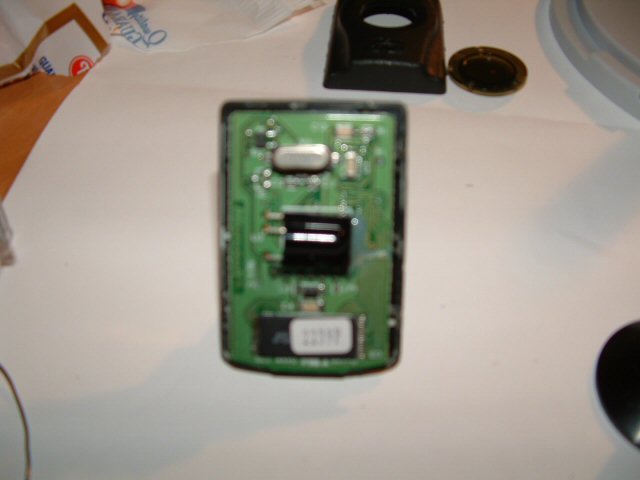
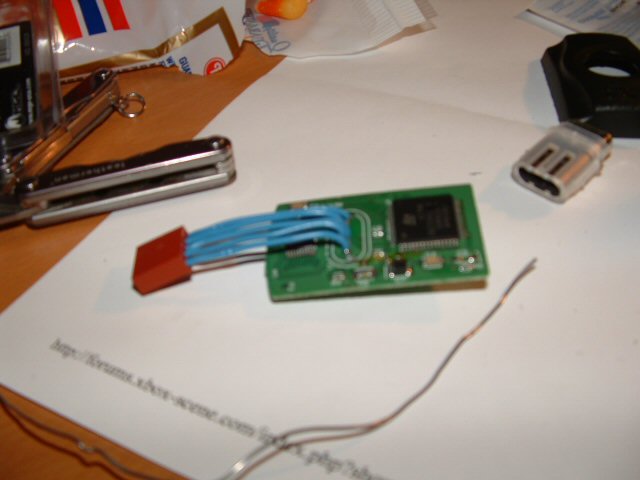
A close up of the board, witht he receiver up front.
IR Dongle 05
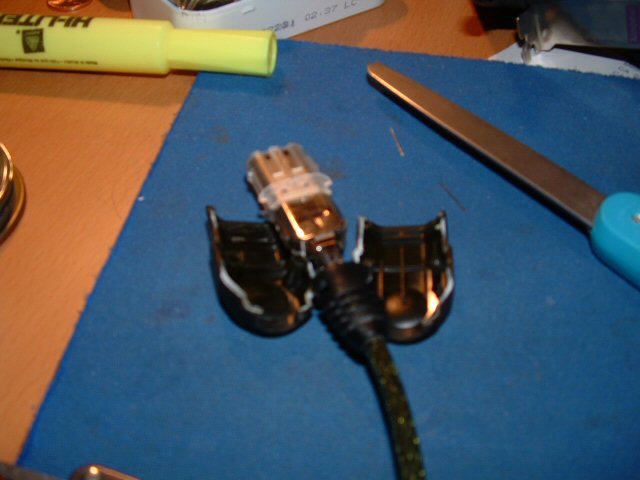
To access the connector ports, you have to bend up the IR port.
IR Dongle 06
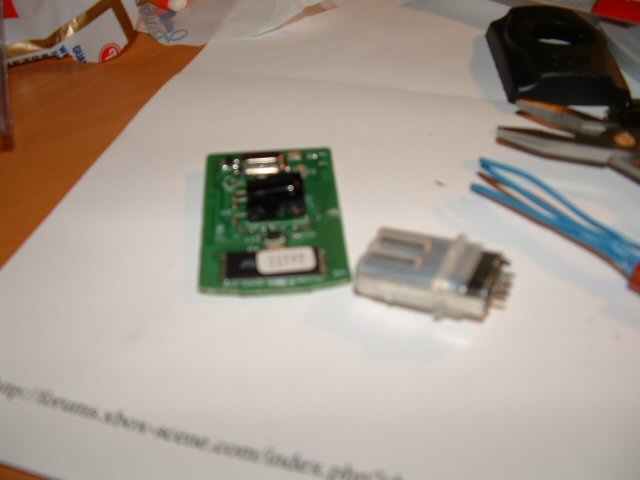
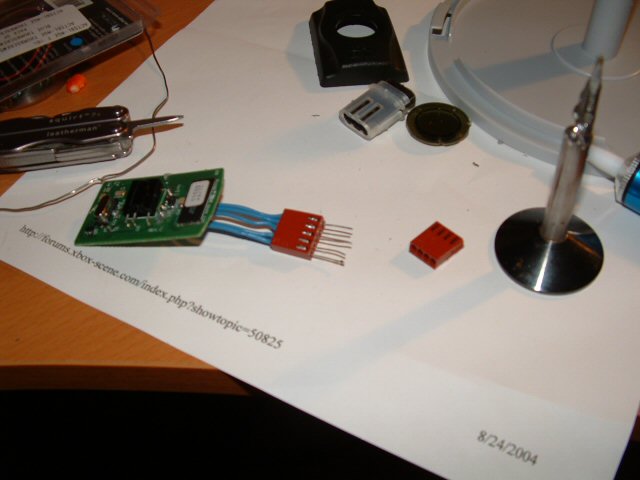
I desoldered the connections, 5 of them for the USB port, and ripped the connector off, so I could remove all of the plastic.
IR Dongle 07
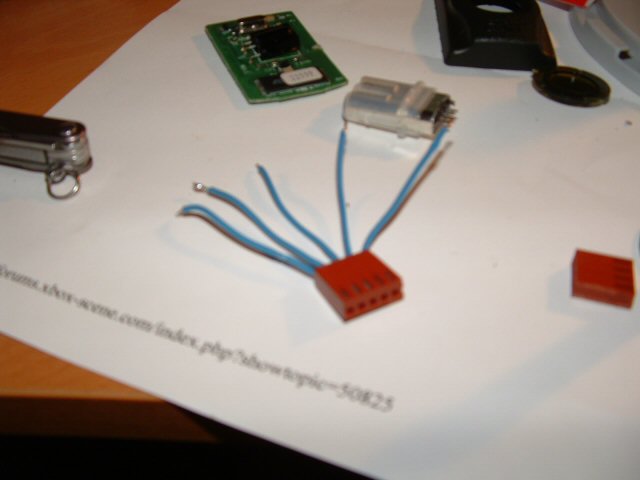
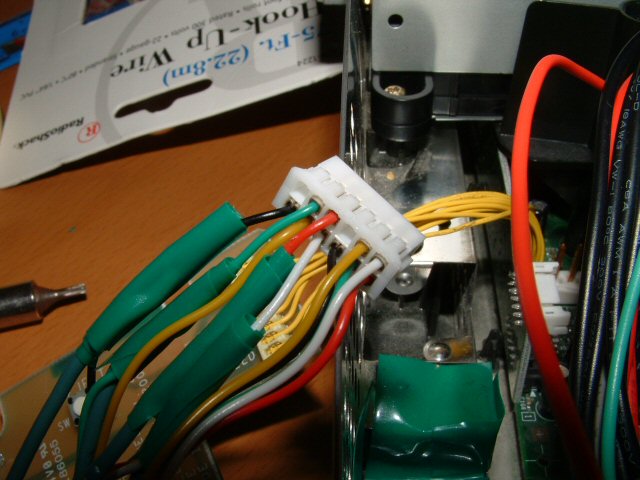
I have these plug ports, I took one and placed a 5 pin/5 wire connection on it for later use. You'll see why.
IR Dongle 08
The back of the board has the holes there for the connector, which I wired to the female pin port.
IR Dongle 09
I took 1 inch pieces of wire and stuck them in the port holes.
IR Dongle 10
I used some hot melt to make a plastic plug as a male connector to these pins.
IR Dongle 11
After a little shaping and soldering, the male port is well formed.
IR Dongle 12
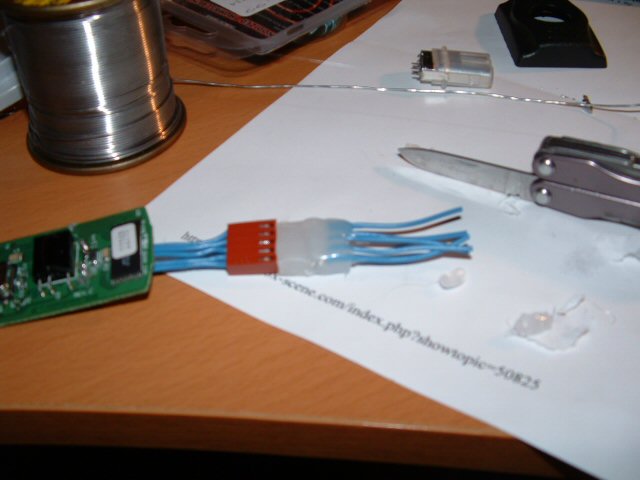
More hot glue to protect the connections.
IR Dongle 13
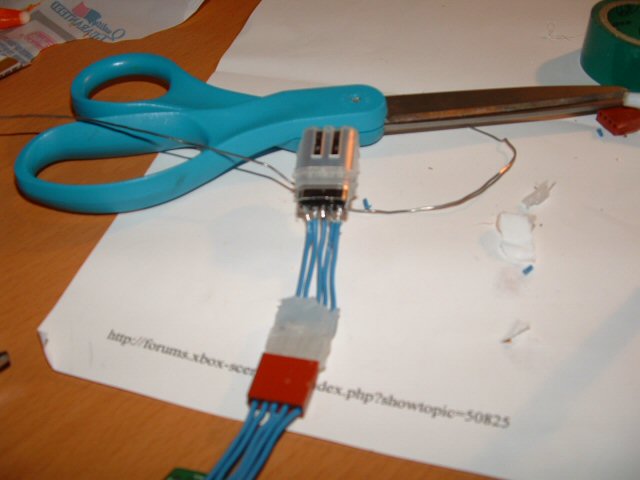
Using the old connector port, I made this removable controller connection. Now, if I ever get a new case or whatever, I can use the DVD dongle outside of the case should I desire.
IR Dongle 14
All Together
IR Dongle 15
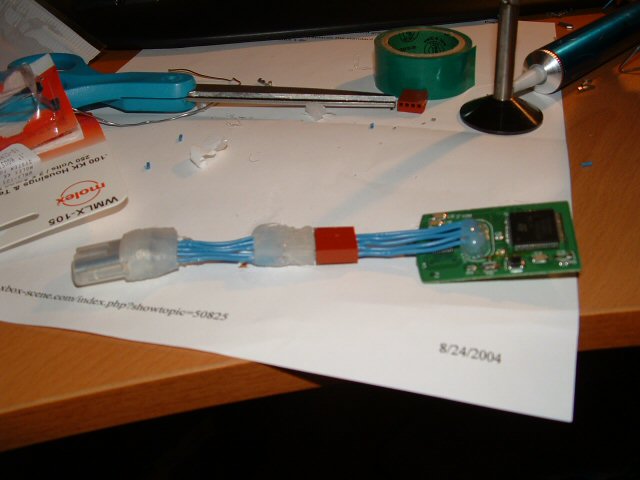
Once Again, with the glue protection showing.
IR Dongle 16
See, it removes.
IR Dongle 17
I can even use the plastic case again.
IR Dongle 18
See?
IR Dongle 19
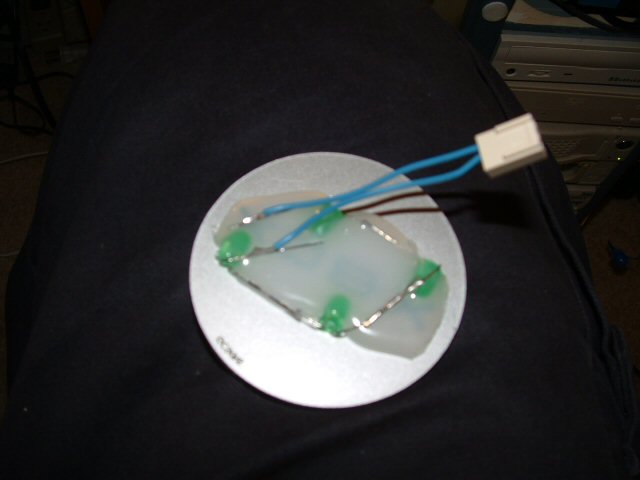
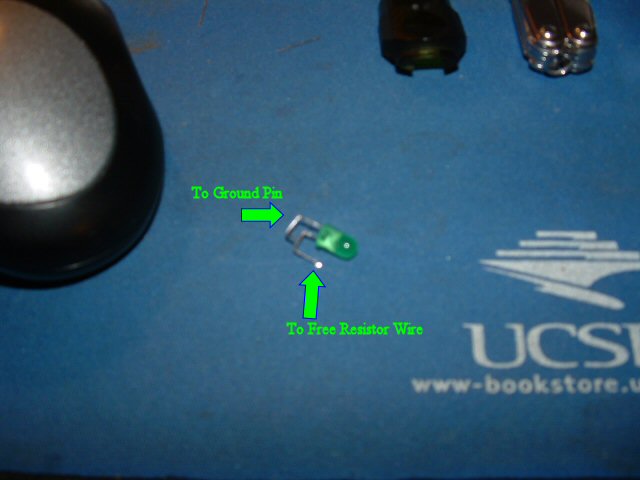
This is to show the connection for the green LED which indicates when this port is receiving the 12 volts.
IR Dongle 20
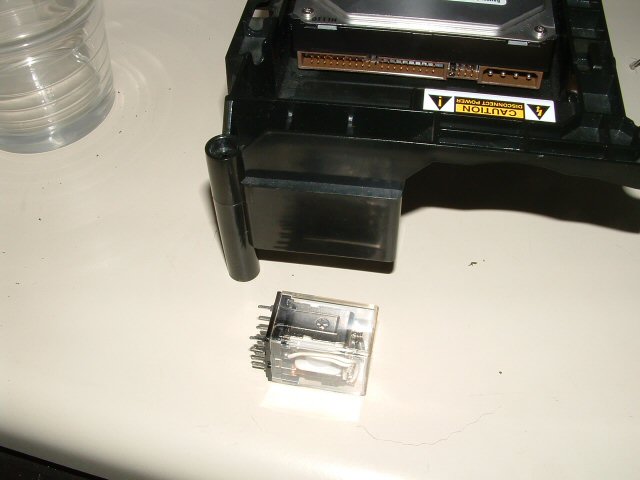
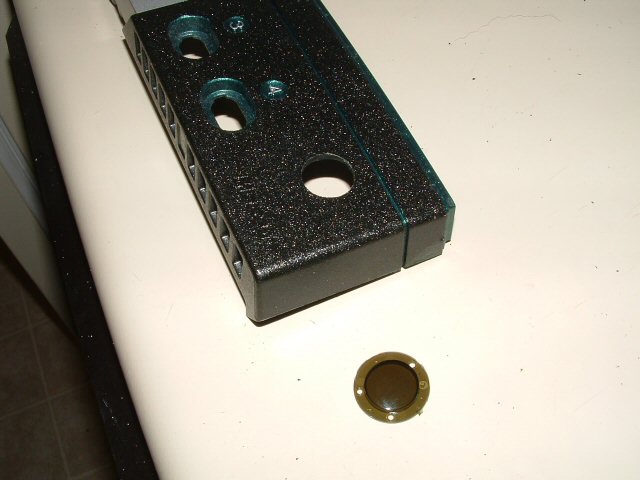
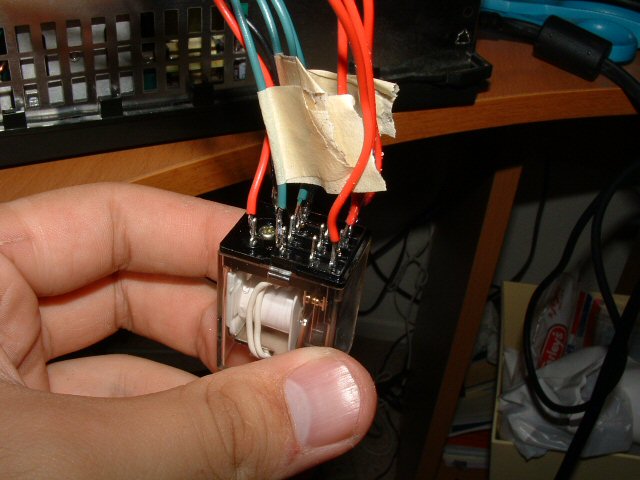
To make this dongle automatically switch back to the 4th controller port when a controller is plugged in, we use this 12V 4 connection trip relay so that if 12V are detected on the 4th port the connection is switched. You also see the plastic hard drive chassy, which is the only good spot to put the relay.
IR Dongle 21
I dremeled the plastic out.
IR Dongle 22
Fits nicely.
IR Dongle 23
We need to connect to the ground of the 4th controller port eventually, but we dont' want to ground that out to the whole case, so we insulate the 4th port with electrical tape.
IR Dongle 24
Soldering a ground wire to the controller port.
IR Dongle 25
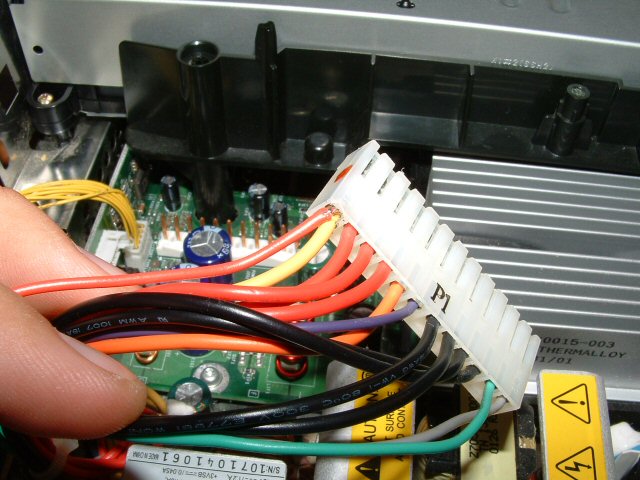
Soldering 12V from the power supply.
IR Dongle 26
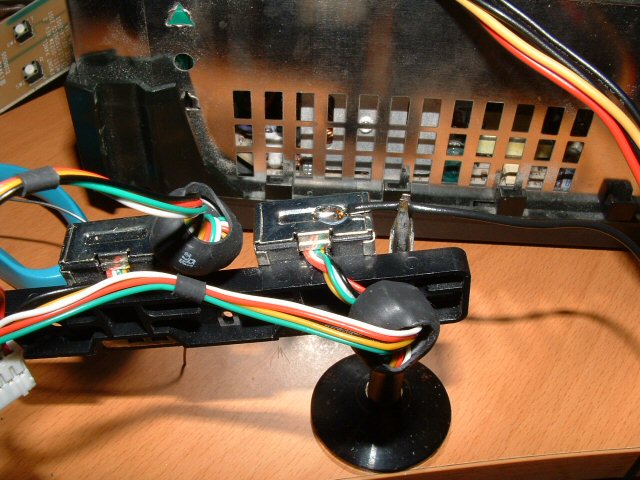
I tapped into each of the controller port wires for port 4.
IR Dongle 27
All of those wires get connected to the side of the case to keep them out of the way.
IR Dongle 28
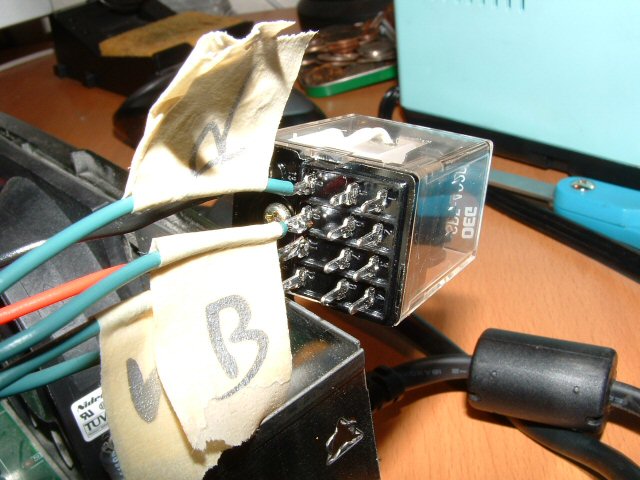
Labeling and connecting everythign to the relay.
IR Dongle 29
I found these pins to make another male connector this time without the janky paper clip wires, so I did.
IR Dongle 30
Marked the hole for the IR port.
IR Dongle 31
Dremeled it out.
IR Dongle 32
And it's a perfect fit!
IR Dongle 33
With everything, including the LED in.
IR Dongle 34
It's glued to the inside of the plastic.
IR Dongle 35
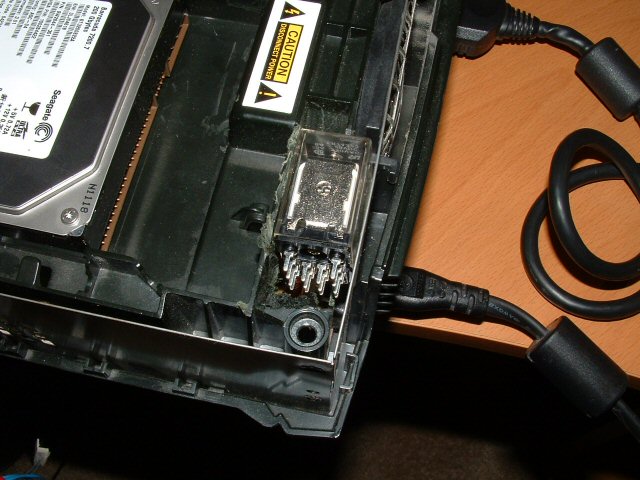
I had to do some nasty massive case wrecking, but it worked in the end.
IR Dongle 36
The connected relay.
IR Dongle 37
The port off, with the controller indication on and the IR LED off.
IR Dongle 38
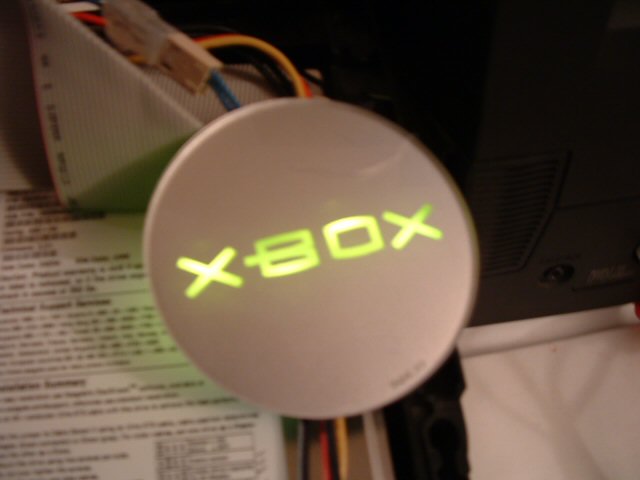
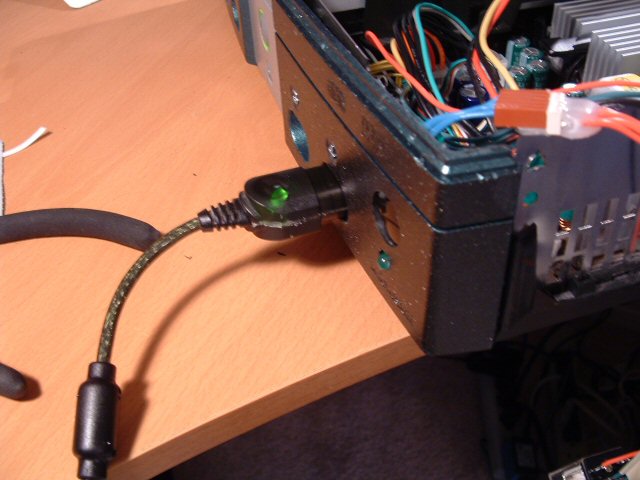
And when the port is empty, the IR dongle is on, shown by the LED! There is only one problem, some 3rd party controllers don't draw enoguh current to trip the relay, but all the original Xbox controllers trip it, so I need to remember what I'm connecting where. I don't recommend doing this mod unless you really know what you're doing, it took a ton of time and effort, but it turned out cool!

- - - - - - - - - - - - - - - - - - - - - - - - - - - - - - - - - - - - - - - - - - - - - - - - - - - - - - - - - - - - - - - - - - - - - - - - - - - - - - - - - - - - - - - - - - - - - - - - - - - - - - - - - - - -

Welcome to Joe’s Guide To Lighting The Controller Dongle!

Well, what's the most boring part about the Xbox? The controller dongle, that little waste of plastic and metal that makes it so when people trip over the cord they don't rip the console off the shelf. Well, that's not good enough, it needs to light up.

controller Dongle 01
This is the virgin device:
controller Dongle 02
Insert something into the seam of the fat side of the dongle. . .
controller Dongle 03
. . .and pry it apart, you should hear the clips pop off.
controller Dongle 04
You should see a white end to it that will slide off, do that. Also, pry off the metal shielding that's not at the end of the port. It should pry towards the wire, just cut it off.
controller Dongle 05
The LED's I had for 6V required 200 Ohms, and I happened to have 4 50 Ohm resistors lying around, so I soldered them together in serial to make a big 200 Ohm resistor. If you have better or different parts, use what you got, this worked for me. I did them like this and they ended up fitting perfectly, which you'll see in a sec.
controller Dongle 06
It should fit into the bottom of the dongle like this. Make sure the leads are sticking out in the direction that they are, pointing towards the back of the dongle.
controller Dongle 07
Put some electrical tape over it so it can't short out.
controller Dongle 08
Put the wire and the port harness back in the bottom half of the plastic. In the following picture, you can tell that one end of the resistor needs to be connected to the hot wire (the wire on the resistor is indicated with the blue line) and the other wire from the resistors needs to be left free for right now.
controller Dongle 09
The next few pictures are difficult to make out, so try to understand the point of it, and you can improvise a little bit. What needs to happen is the LED needs to have the negative side connected to the ground pin indicated above, and the other pin connected to the other end of the resistors. First, cover the controlelr dongle wires with tape, like the picture below.
controller Dongle 10
The next diagram shows you how to connect the resistor, and how to bend it so it reaches the contacts. The "-" end of the resistor needs to connect to the ground.
controller Dongle 11
Put the LED in and line up the pins as they need to be. Solder the contact points to their respective wires and try to keep the LED in the lowest profile possible.
controller Dongle 12
Finally, pop the other half of the dongle plastic on, making sure the LED fits in the shell. Plug it in to make sure the LED works, and if it doesn't, well then re-do the whole thing because you lose. Have fun making things light up!

- - - - - - - - - - - - - - - - - - - - - - - - - - - - - - - - - - - - - - - - - - - - - - - - - - - - - - - - - - - - - - - - - - - - - - - - - - - - - - - - - - - - - - - - - - - - - - - - - - - - - - - - - - - -

Preview of Muir Virtual Tour

Click me and all of your internet fantasies will come true.

- - - - - - - - - - - - - - - - - - - - - - - - - - - - - - - - - - - - - - - - - - - - - - - - - - - - - - - - - - - - - - - - - - - - - - - - - - - - - - - - - - - - - - - - - - - - - - - - - - - - - - - - - - - -