

Turtle Tank and Dock
As we all know, Jenn and I have a baby named the Baron. Specifically, a baby map turtle named The Baron von Deutschenheim the Second. When we got him, or should I say before we got him, I knew he'd need a home so I made him an awesome one. First, I built the tank itself. Now, you may know where he lives now, unfortunately, dad and I tried to re-caulk this tank and it sprung a series of leaks we never got to finish fixing, so it's in my house in Villa Park accumulating dust. One day though, he'll live in it again.

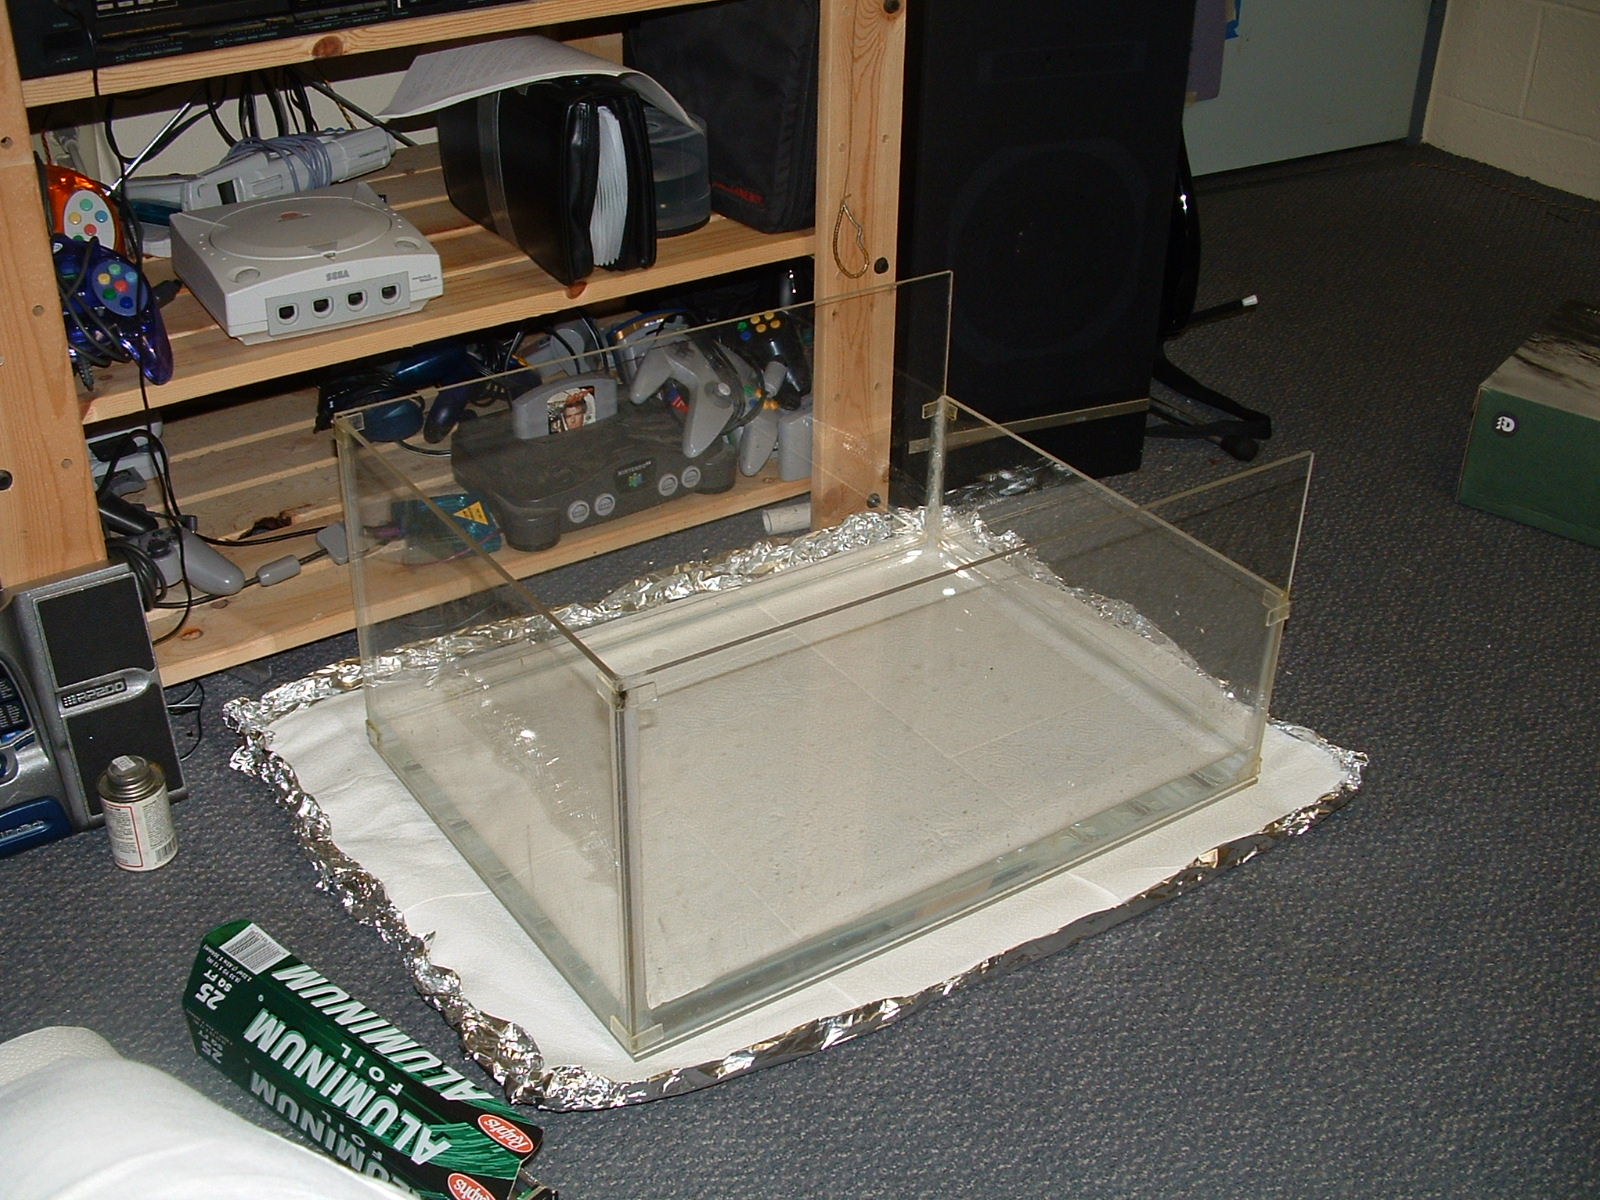
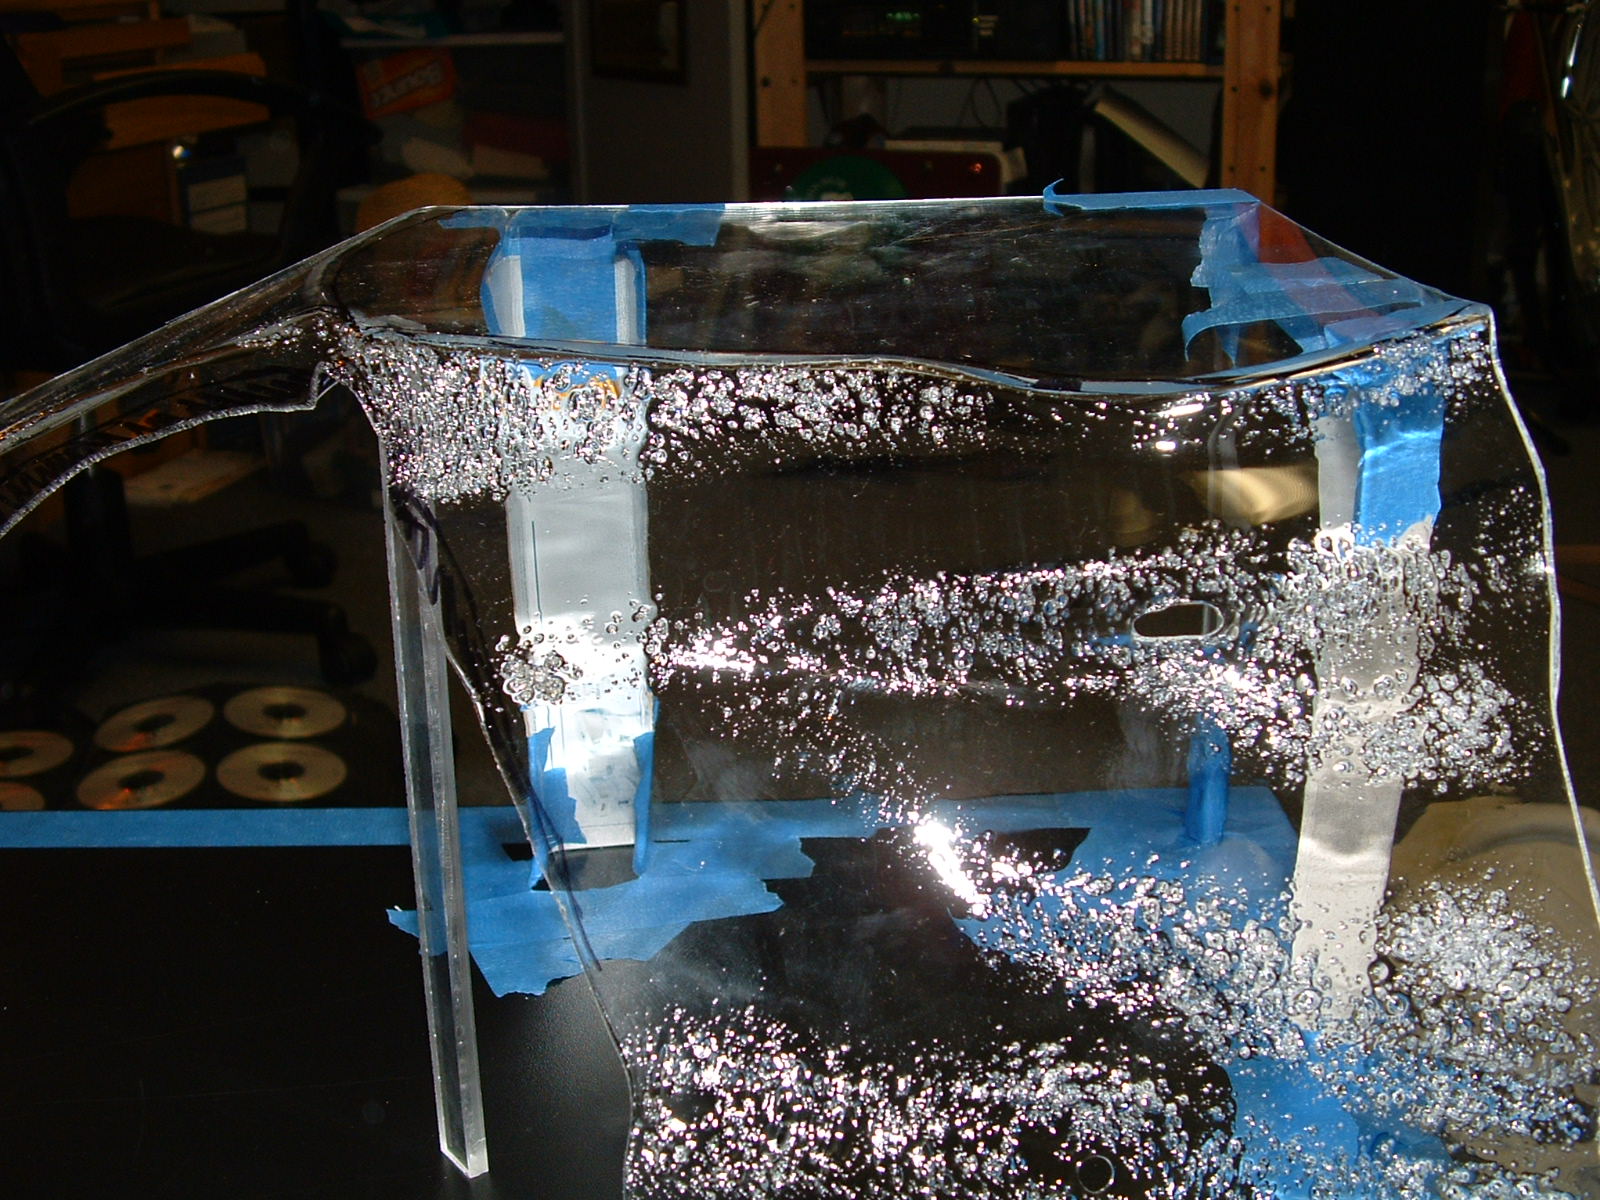
The tank is made out of 1/4 inch clear acrylic with one side lowered for the filter. The lowered filter position allows for the water to be lower but there still be dry space at top. I used the foil and paper towel method to test for leaks, and she passed awesomely!
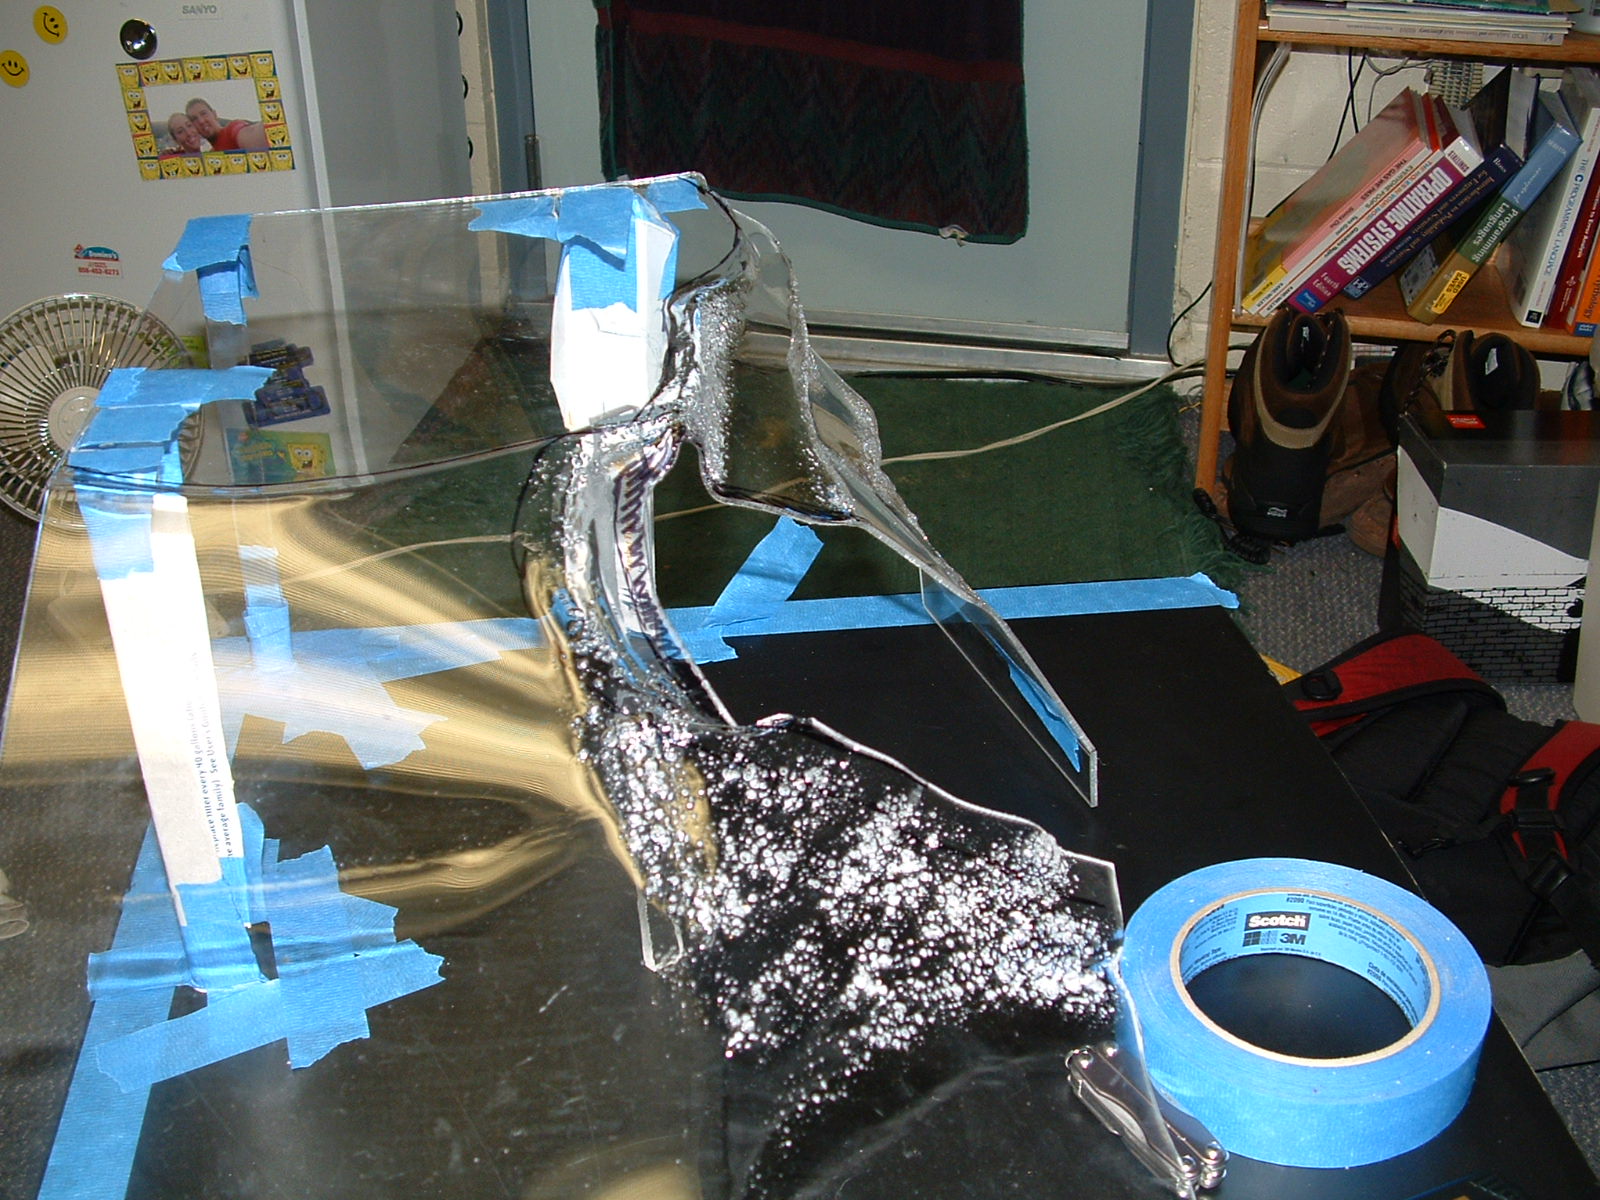
This picture is the same, but deleting it would screw up the number order of my pictures.

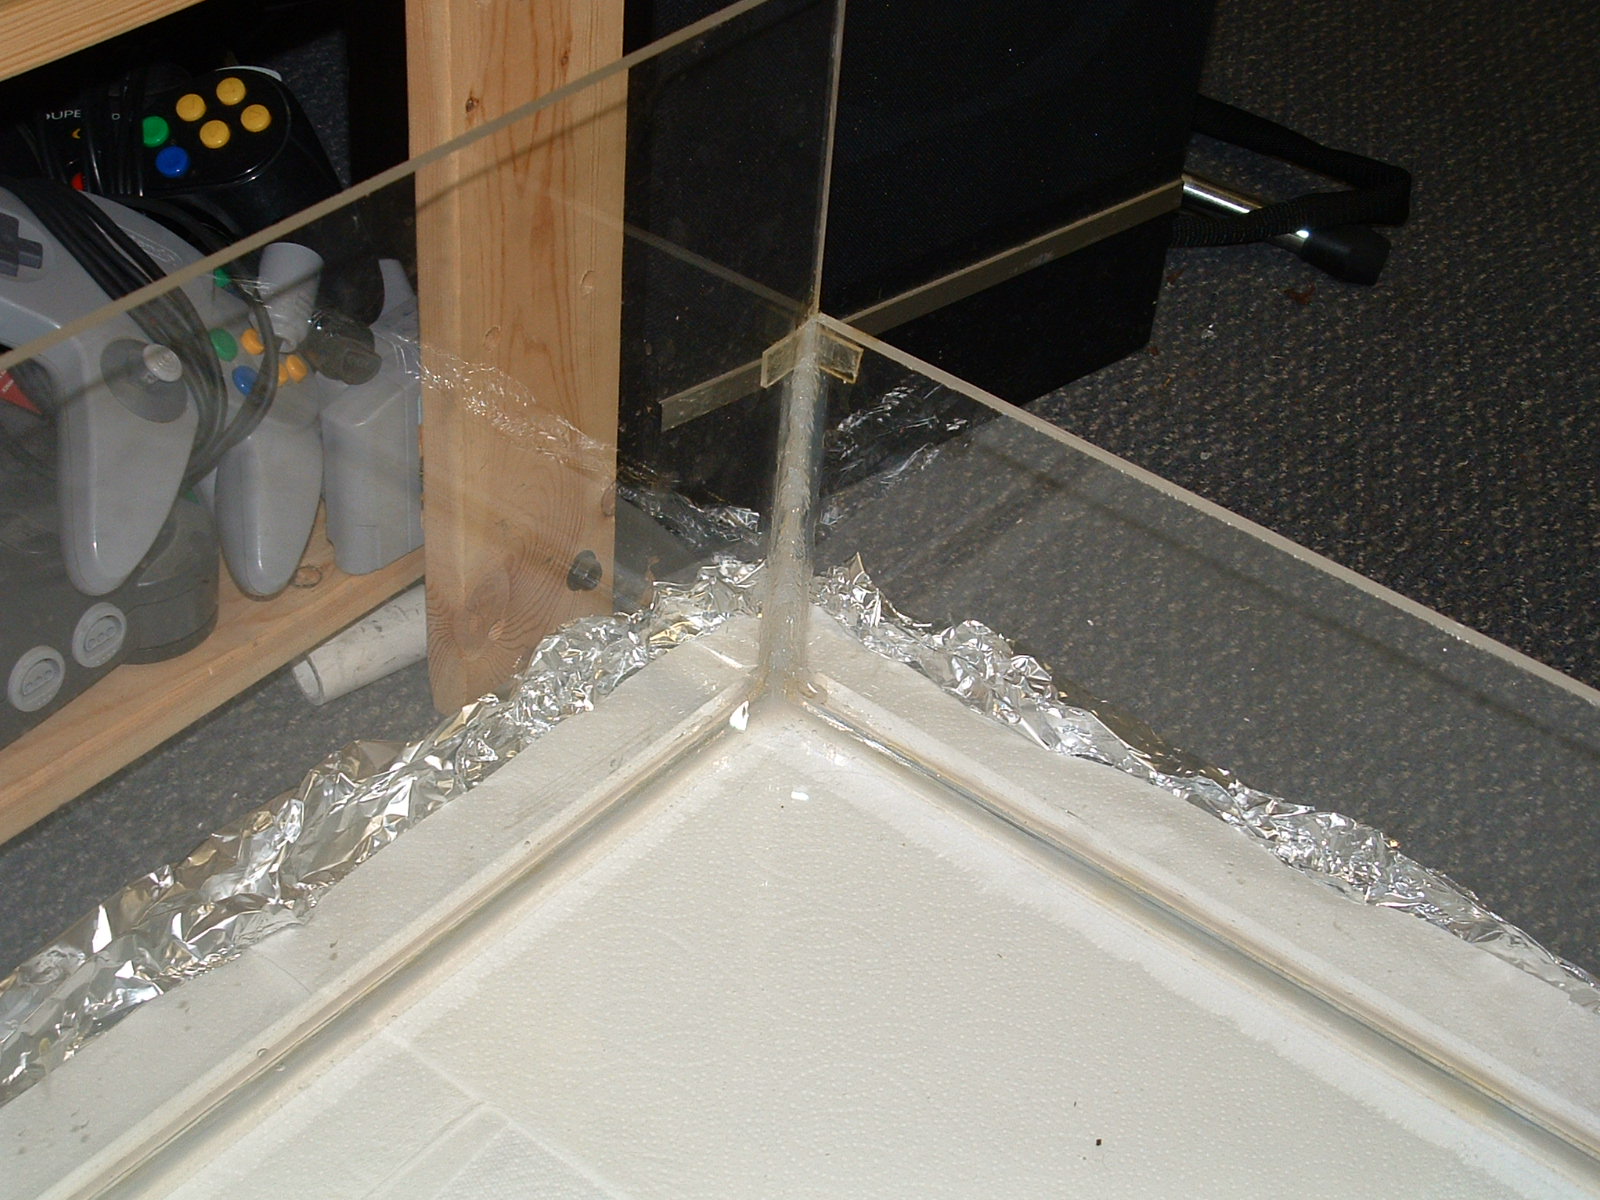
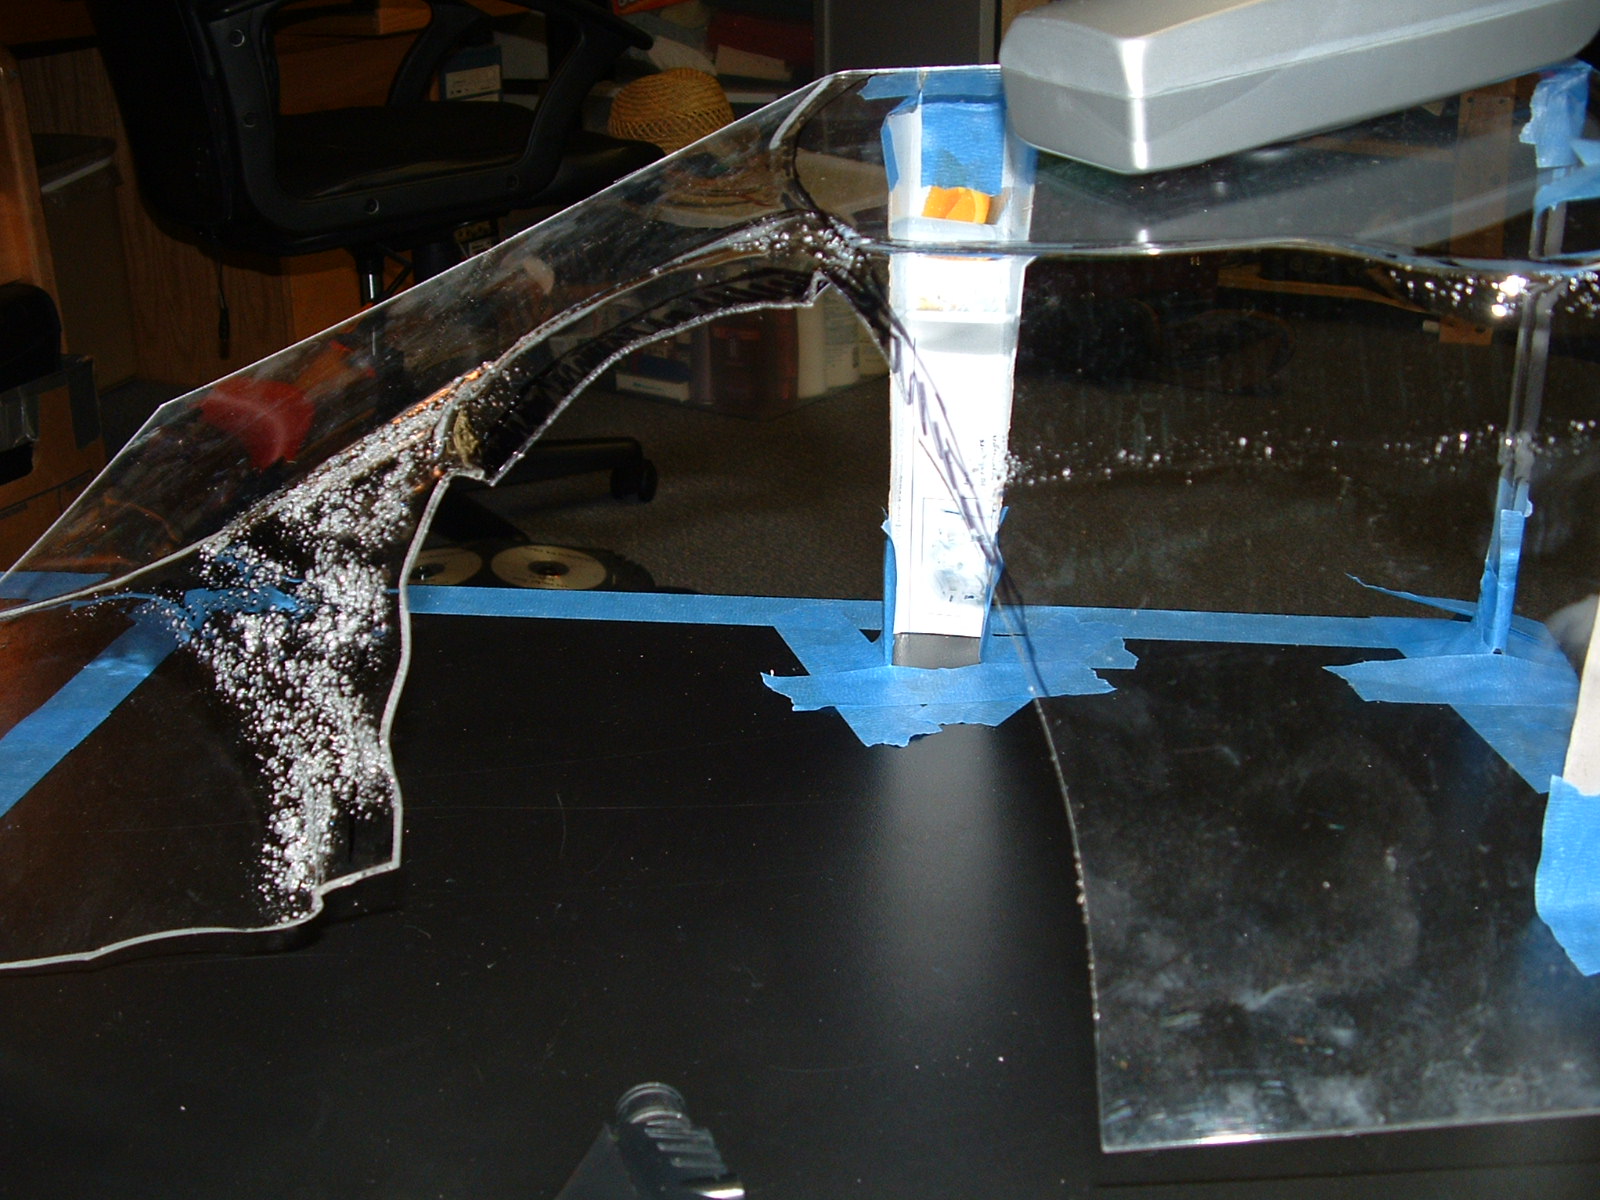
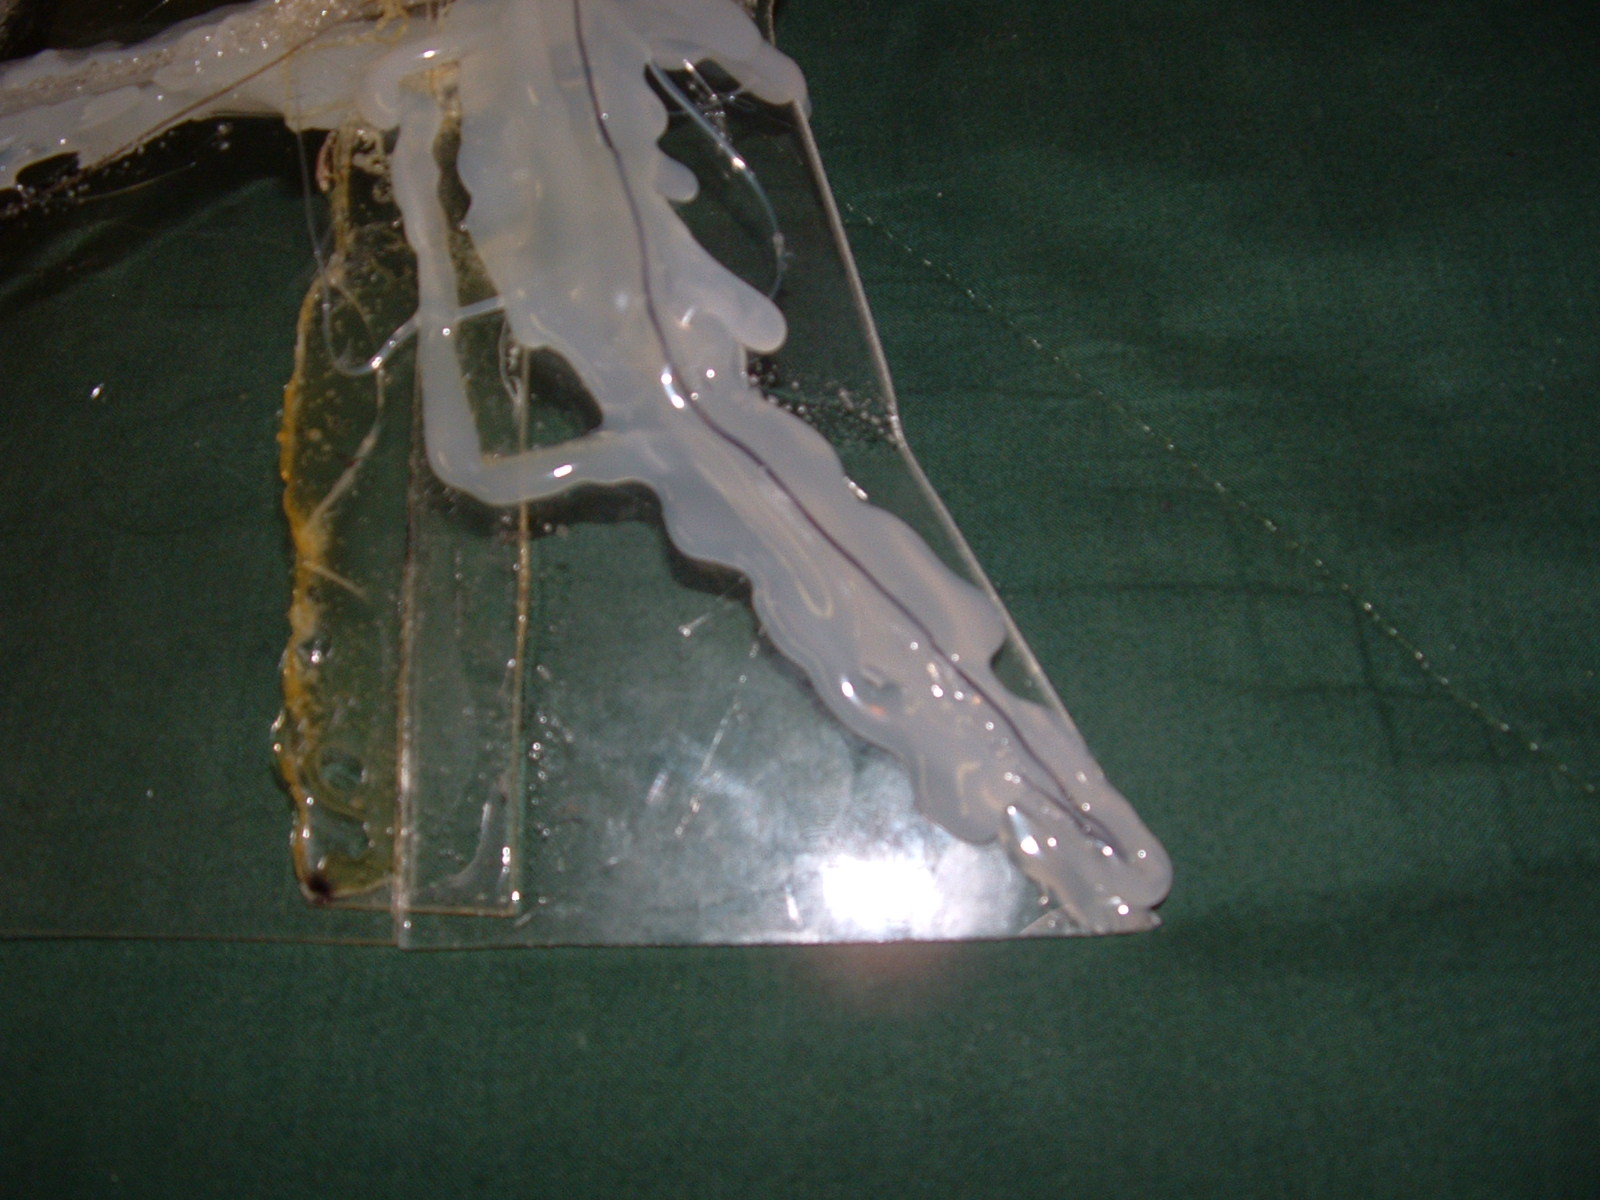
A close up of the strengthened joint, it's epoxy, silicon caulk, and reinforced acrylic 90 degree bends.
The opposing dropped corner.
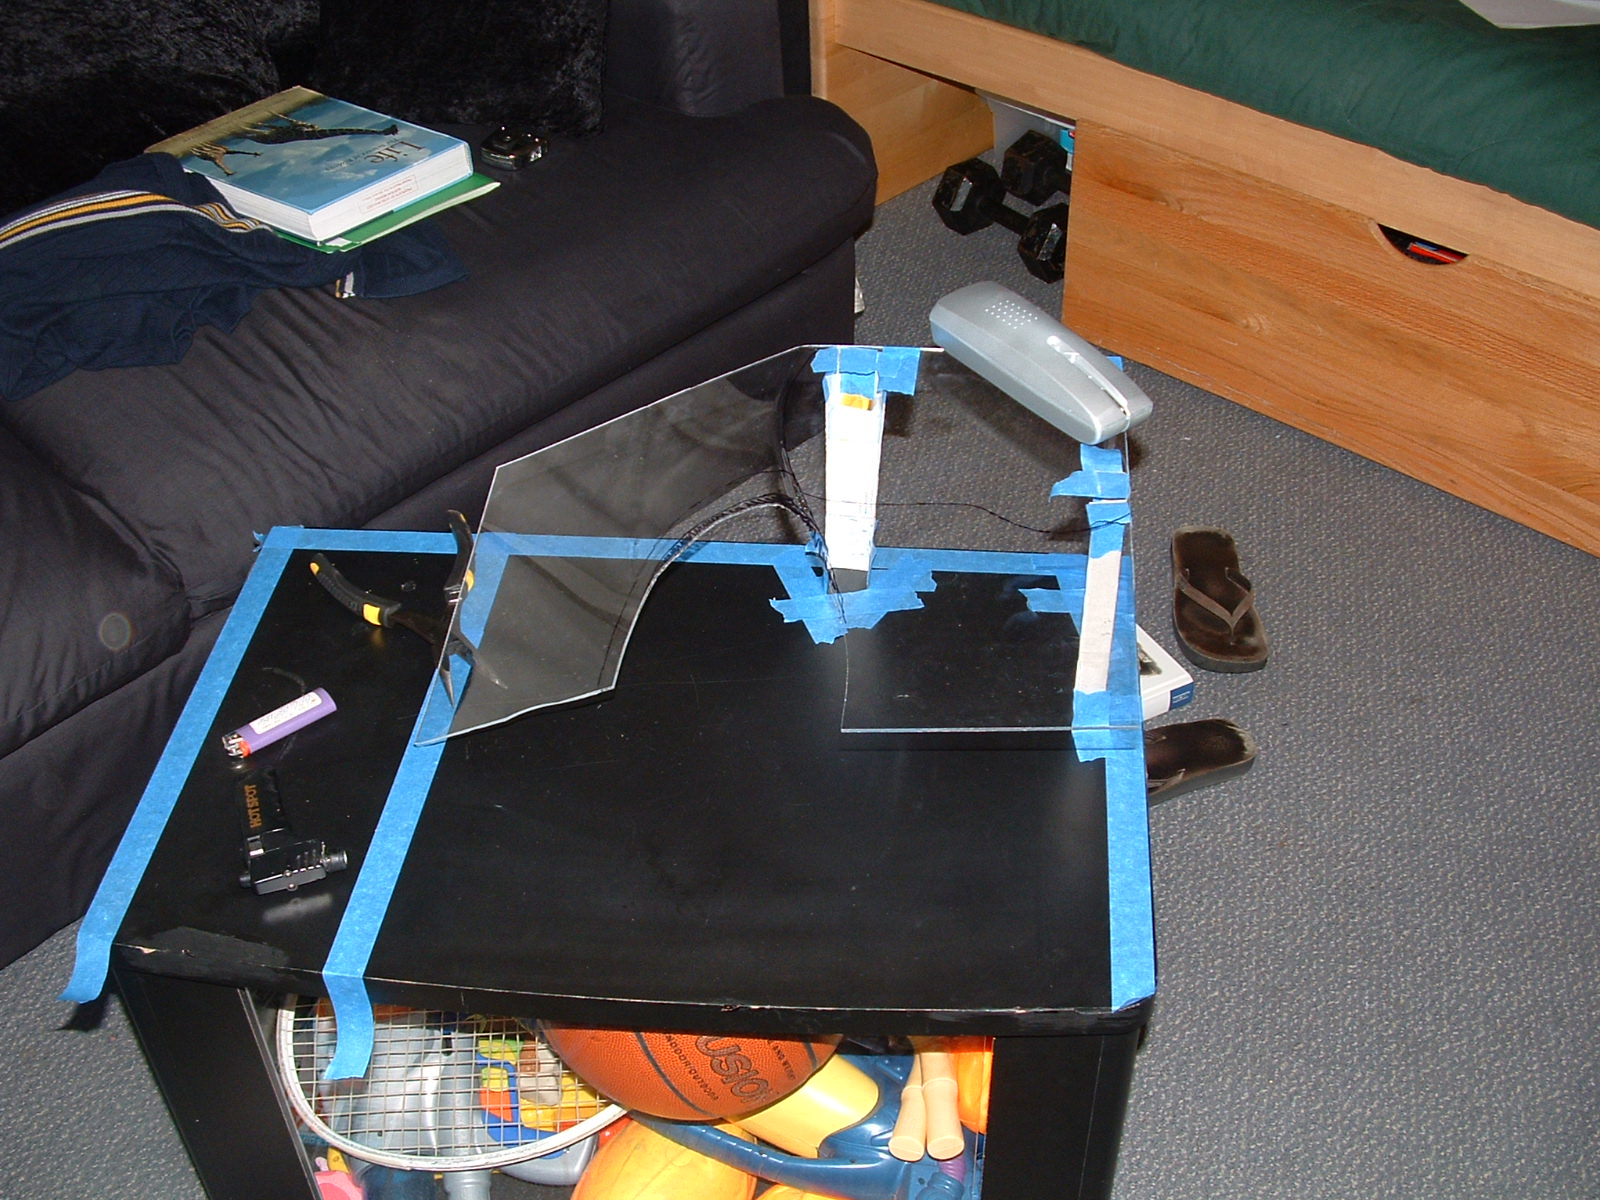
So, his royalty will like a place to sit out and bask in the sun as well as a place to hide, like a cave. He also needs to be able to easily get up on it, and it should be pretty. I used some 1/8 inch acrylic to make a custom dock feature. Here's the simple piece I started with.

The first bends, done with a light butane torch.

The acrylic stretches when it is bent so the bends don't have to be straight lines, as you can see. Who knew I was a sculptor too?

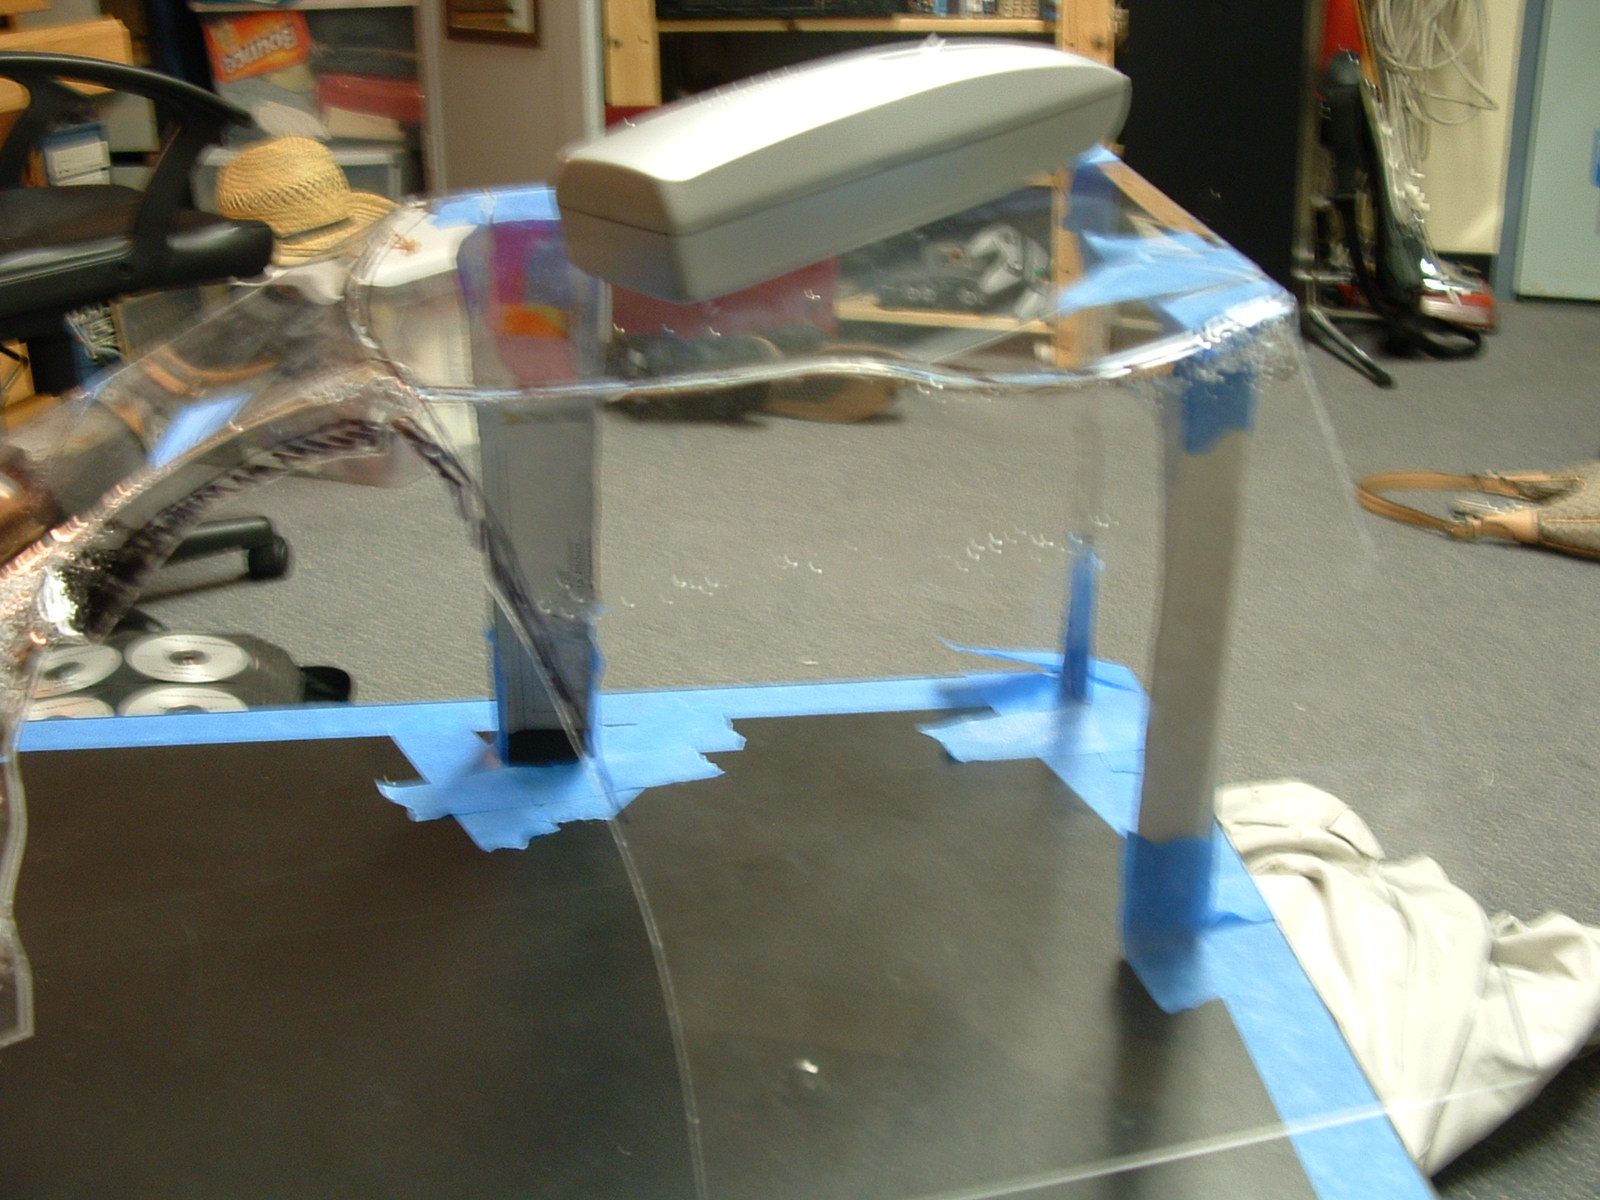
I'm inspecting the rig, I want the height to be right above the water line set by the lowered edge, so I made this little rig to hold it steady while I worked.

Preparation for the firing, notice my heat prevention gloves.

BURN!

THE MELTEY FIRE!!! The acrylic bubbles if it gets too hot.

Heating is a slow process.

Pensive.

Slowly taking shape, thanks for takin pics Jenn.

The bubbles are where it's heated up a lot, but they make it easy to expand and bend. It's really starting to take a dropped ramp shape.
The beginnings of the cave.

Beginning the drop side.
The ramp from the front, in formation.
Ok, here's the rock structure, if I do say so myself it turned out spectacular, it looks really natural and flowing.

Again.

Side view, with an extender at the bottom. And a hottie in the background, studying.
This is where my man is gonna sit when he's sunning!

Seems the ramp is too short, think I'll need to extend it.

Closeup on the drop side extension.

Here's the extension on the ramp, with the whole unit installed in the tank. Temporarily, to make sure it fits.

Fits great, sits on little nubs glued to the side of the tank.

The dock out again.
It may look ugly, but this is the extension held on with hot glue and acrylic scraps. It looks better in the end, and I did this knowing it.
More.

More.
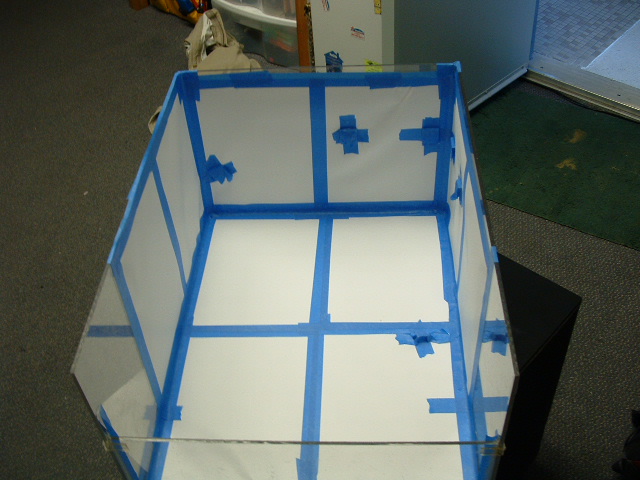
Well, I want this thing to look beautiful, so I'm gonna make it look like rock. First, I covered the inside of the tank with laminated paper.
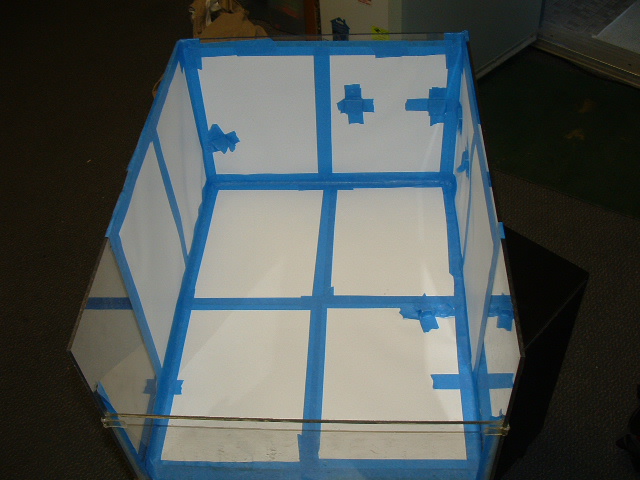
So many repeat pictures!
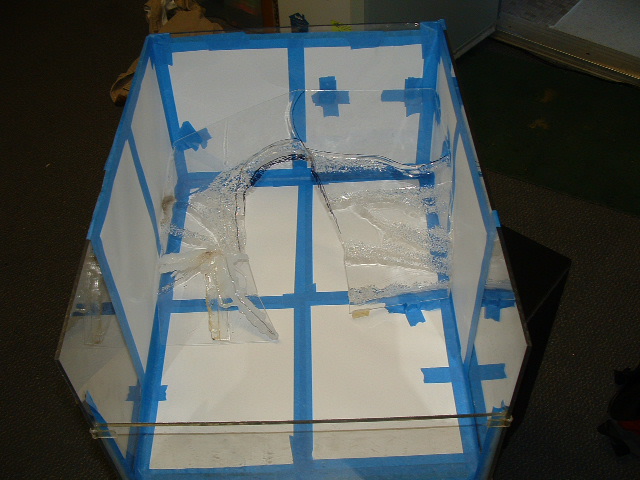
The dock is in, see it fits. See why soon!

It's in.
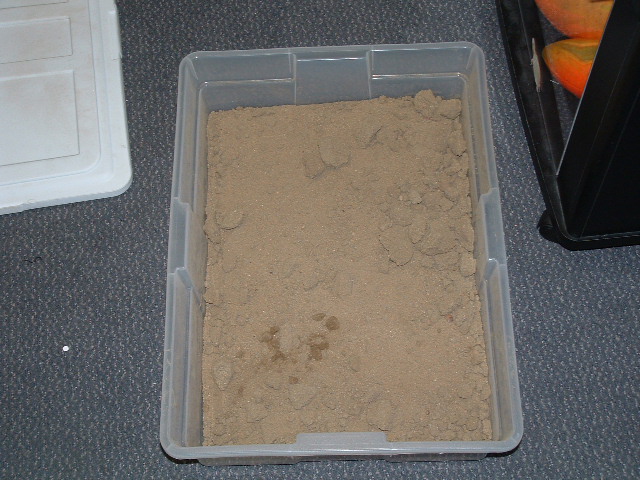
So Adam (my awesome resident) and I went to the volleyball courts and stole some janky ass sand.

Using the lid of my small tank as a sieve, we filtered out the bad sand from the good sand.

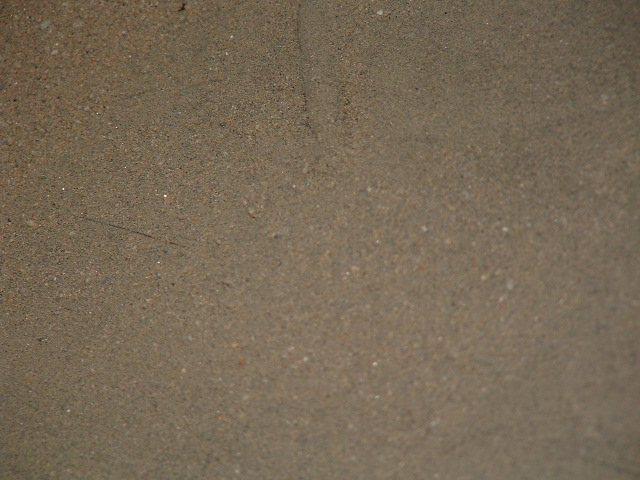
See the fine nice sand?

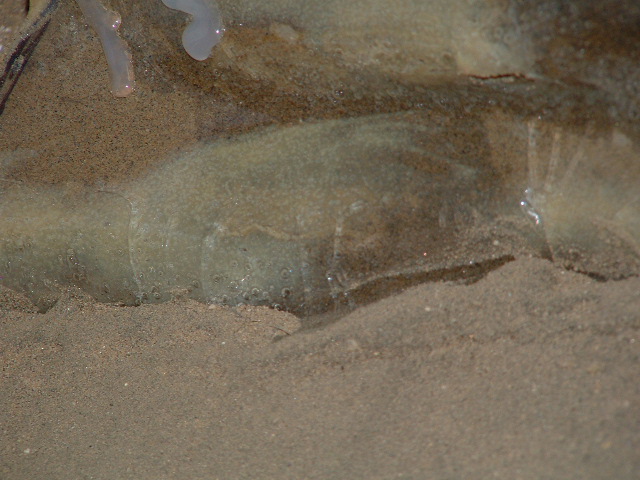
This adhesive is used to put countertop laminant down, I laid it on thick.

Me painting the dock in the covered tank.

More cover.

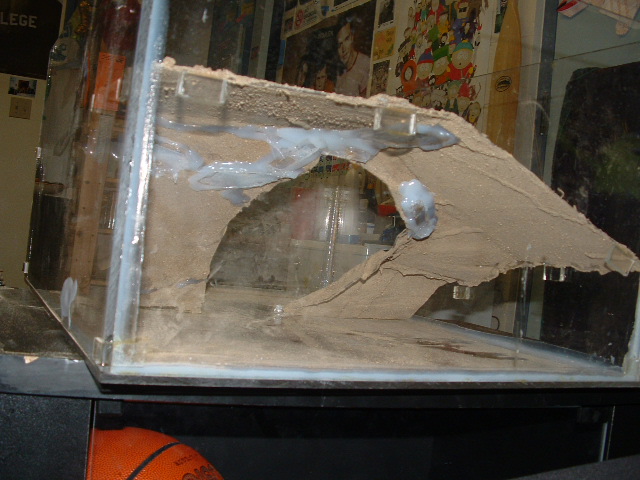
And now do you get it??? It looks like rock since the sand sticks to the glue!

The underside too, which turned out to be a problem. . .
The weight of the sand caused cracks which I had to repair.
Hidden and covered!

Finished, with some stray pieces coming off over time.
The repaired underside.

Supported by nubs.
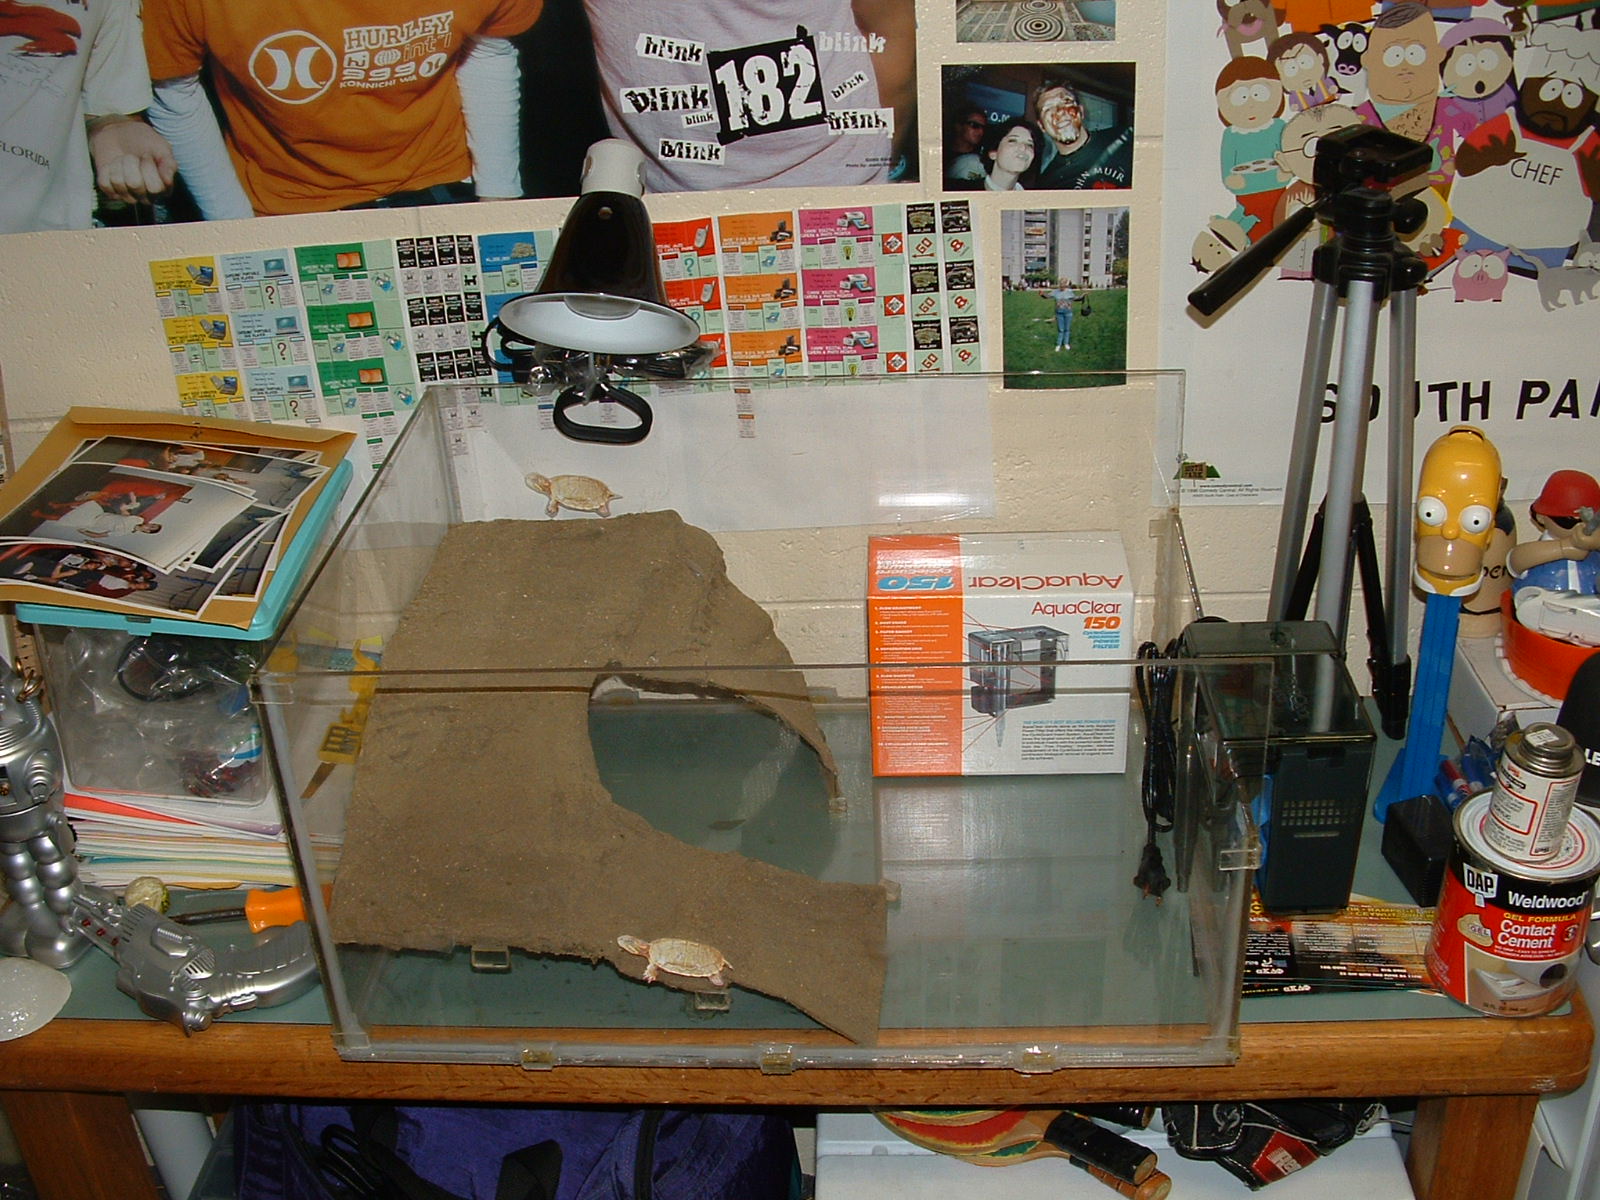
So here's the beautiful tank with the pic of a turtle in there, all ready to be enjoyed!