CompuCube Case Design
Welcome to the description of the greatest computer case ever. I had a computer that needed a new home. It has an Athlon XP 1800 on an EPOX EP-8K7A+, a Radeon All-in-wonder 8500 DVI, a sound blaster Audigy with a Live Drive, 10/100, CAK38, 24x Burner, 16x DVD, floppy, Smart Media and Compact Flash reader, 4 USB's with a 4 port hub on 1, and a whole lotta RAM, 512 DDR. She neded a home to show off her power. First, let's talk about why. Well, with a standard case, there's several design flaws. FIrst of all, the way air flows through a standard computer, it goes from the front to the back. So, if air goes in the front, picks up heat, and blows it out the back, the computer sould be cold, right? No. The idea is that the air behind the computer will exchange the heat evenly with the room, meaining it should be no hotter behind the computer than the room. But the way it works in reality is that the air that is emitted from the computer sits back there, in a confined space, meaning the hot air from the computer pools behind the machine, and insulates the heat from leaving the inside of the case. This wouldn't be a problem if people would leave their computer in the middle of a room, but unfortunately, the interface part of the machine is in the front, so it makes sense to have the front of the computer facing out and the back tucked in a corner, or under a desk, or against a wall. Thus, the current standard design for a computer case provides for the inside of the case to be a higher temperature than it should be. Second, the hottest component of the inside of a computer is the CPU, and in most machines has it's own fan blowing air directly on a large heat sink. Think about it folks. We've already seen that air inside the case is hotter than it should be. Why would a fan inside a computer, which gets the air to blow from the same space it is blowing to, help in the cooling of the case? All it is doing is making the heat from the CPU transfer into the air in the case, which then sits there and builds up because the air cannot escape out the back. Finally, while we're talking about heat, there's more than just the CPU in the computer that generates heat. The CD Roms, the hard drive, and any other little add in's that aren't directly connected to the motherboard should be separated from it, so that the motherboard and it's attachments are the only heat producing elements in the compartment. Well, there's some pretty simple ways to fix all of these problems. First of all, the case can be made to take up some desk space, and from there, the airflow can be made to go from side to side, while the interface still remains in the front. Second of all, the motherboard can be on the top of the computer, and it can have a chimney connecting the CPU fan to the outside of the case so it gets it's own cold, fresh air supply. Finally, the motherboard can be separated into its own compartment and all of the other components into another compartment, with small holes put in the compartment divider for the necessary cables to pass through. One more idea, to make the computer more portable, a third compartment can be added to the bottom of the computer, and in there there can be sub compartments for cables or other things to go, basically storage compartments. Another reason for wanting to do this is because I look at a lot of websites where case mods are featured, and I was already looking into putting a window in my old case and some lights. The acrylic looks awesome, and to have it a custom shape is a symbol of status for geeks around the world.
As you can see, it's fairly easy to design something like this. The ideas are simple and effective. So, I set to work on designing this case.

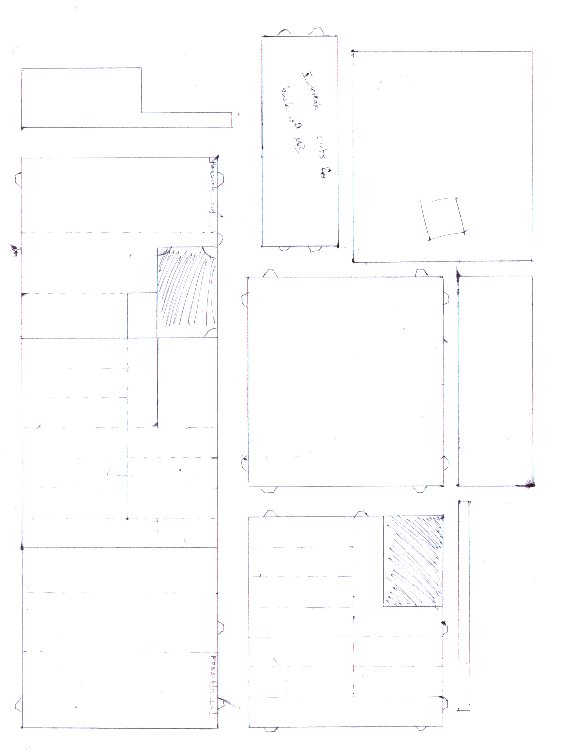


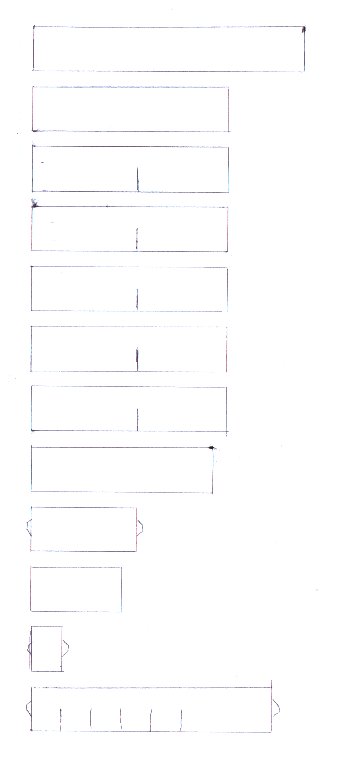
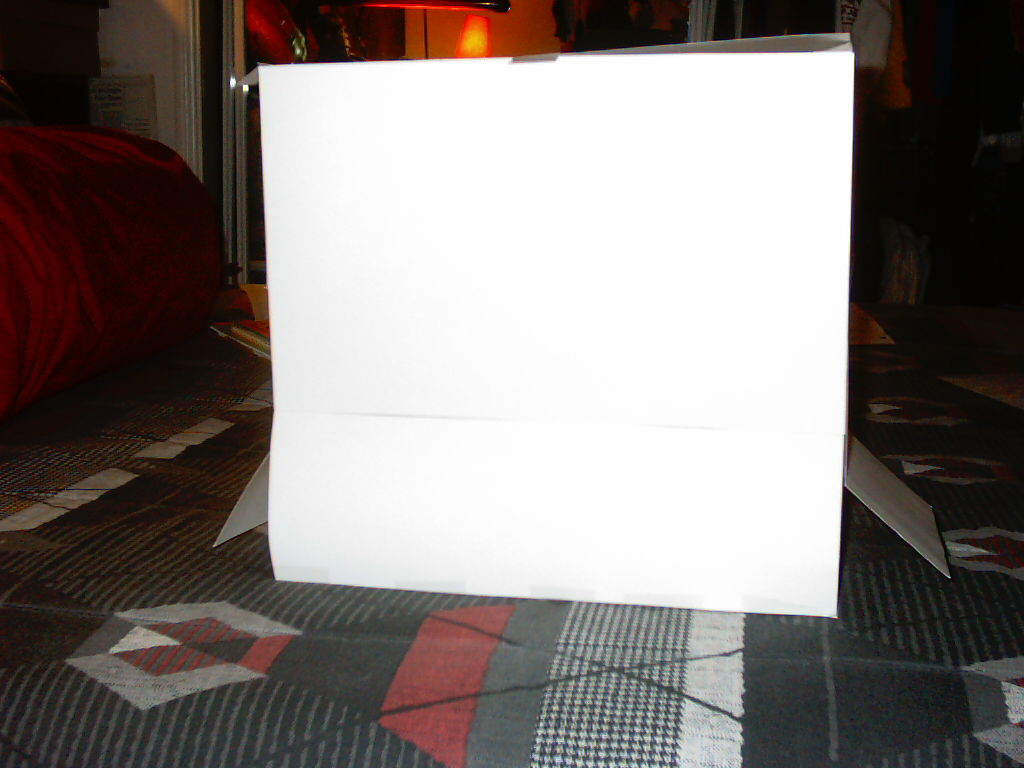
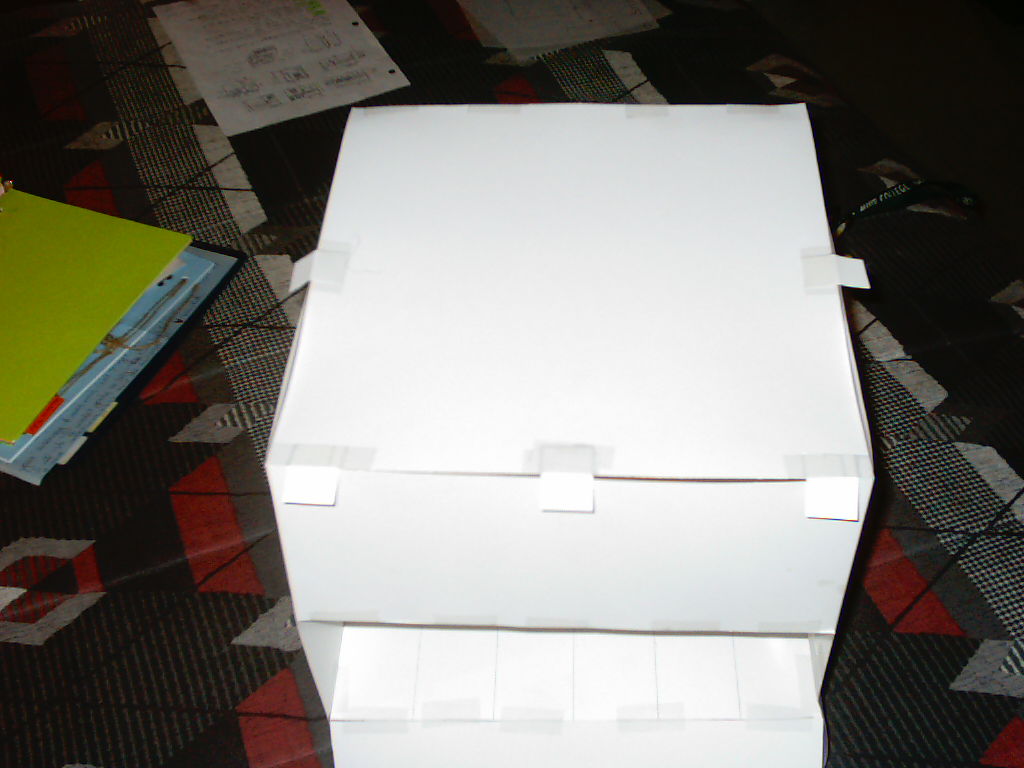
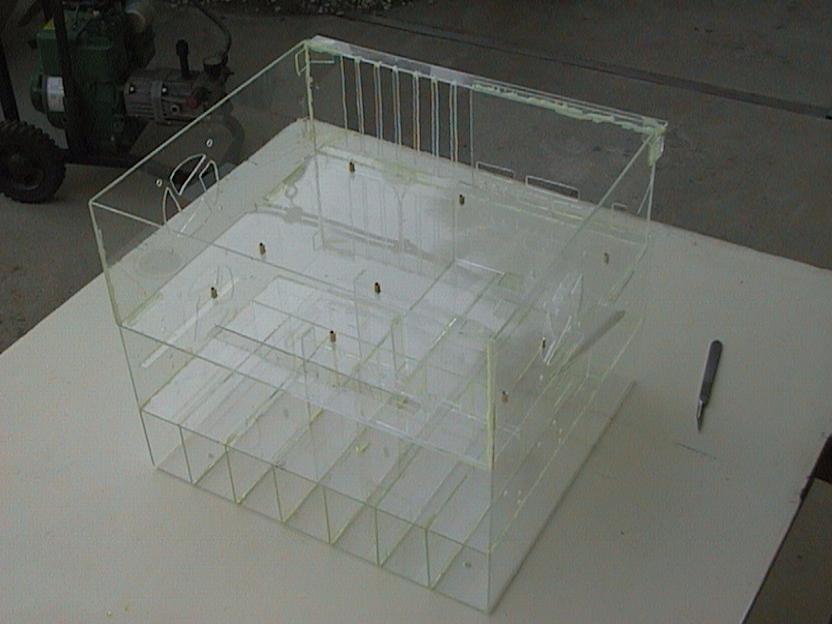
As you can see, I first came up with a basic design, planned out all of the cables, and then started on a real design. What you'll see there is that there are 2 designs with jsut a few changes. That is because the model which I built first, pictured below, was fitted with a motherboard and found that the length needed to be adjusted. Good thing I made the model, if I built it out of acrylic and it didn't fit, bad.


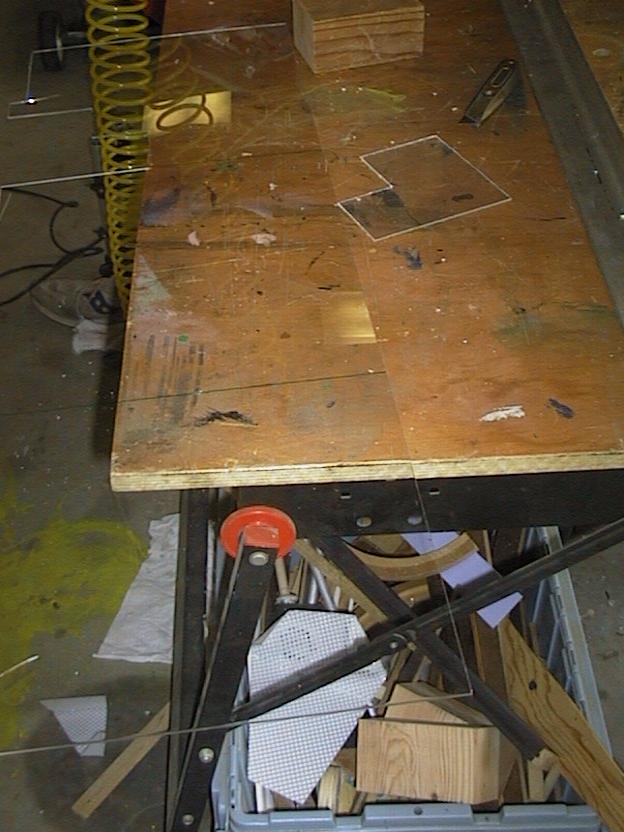
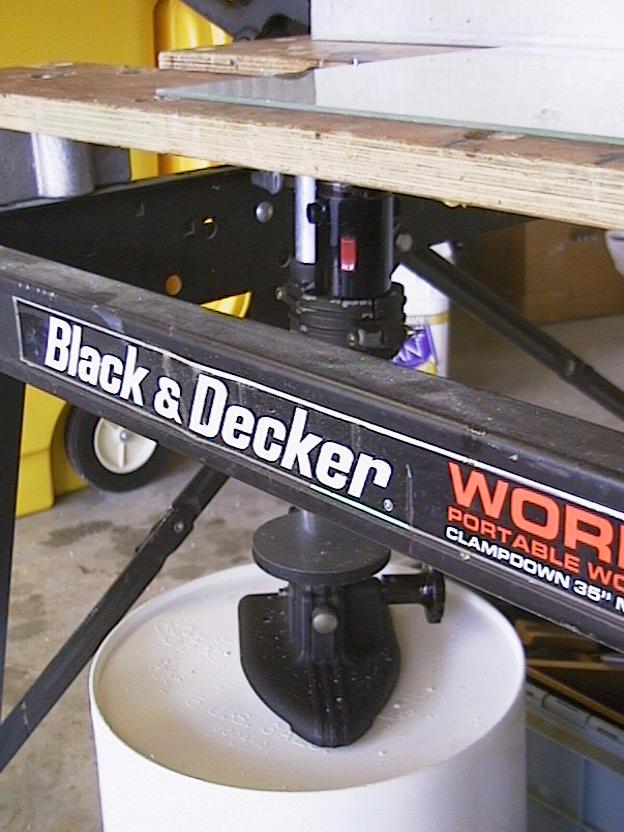
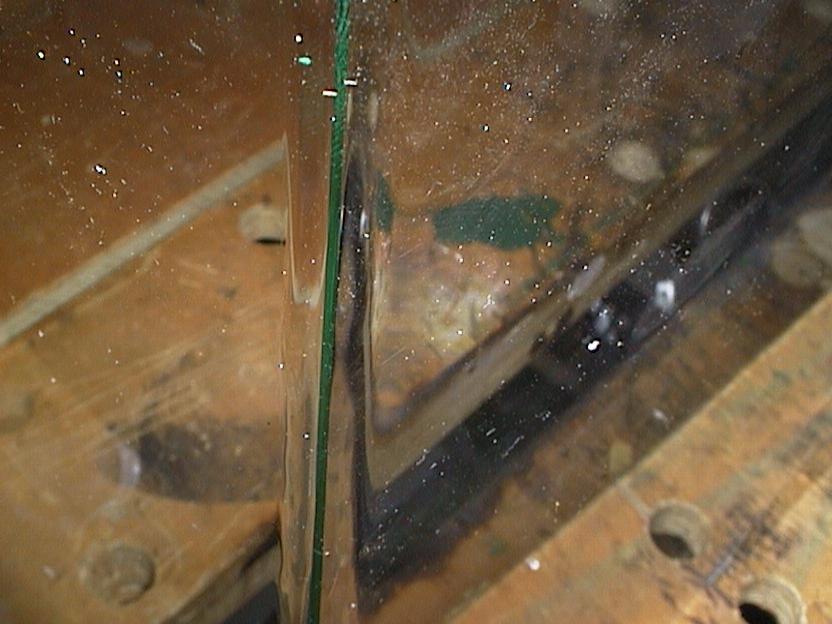
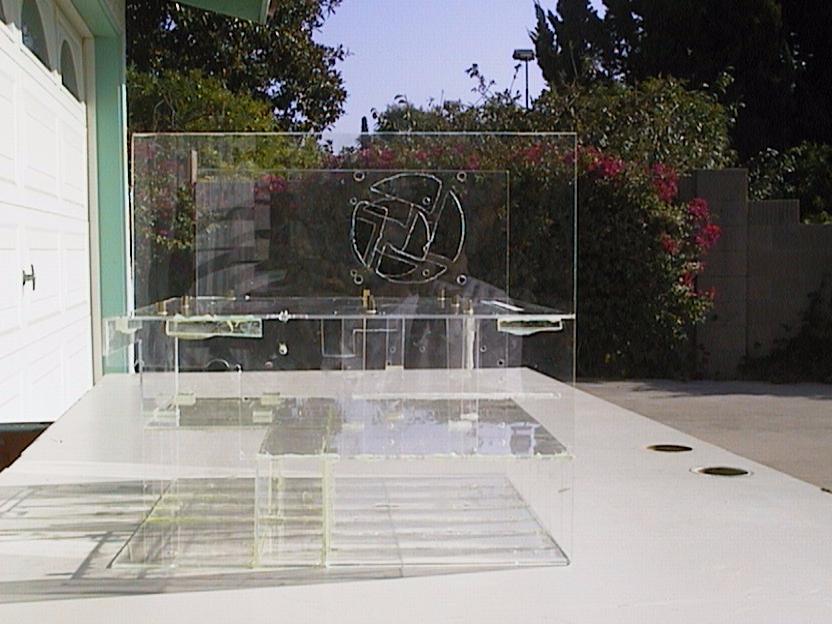
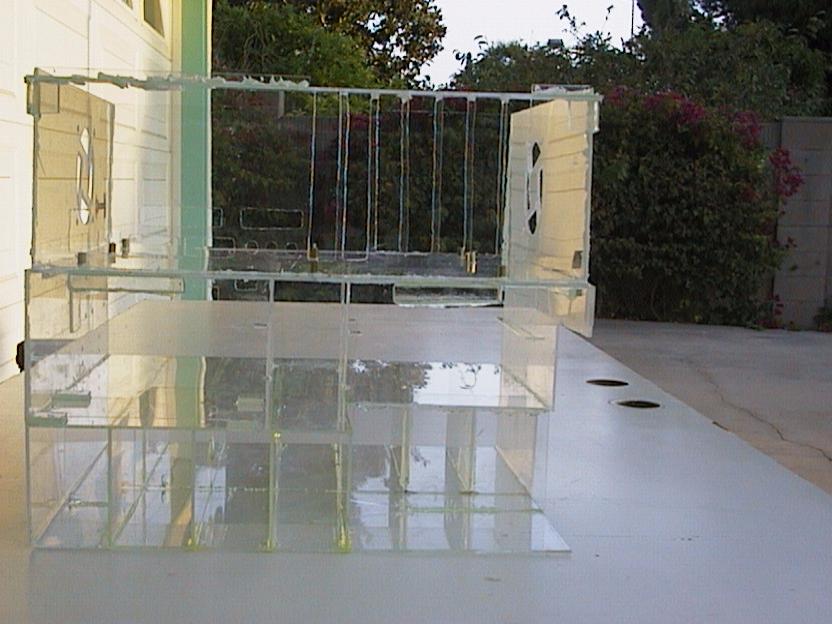
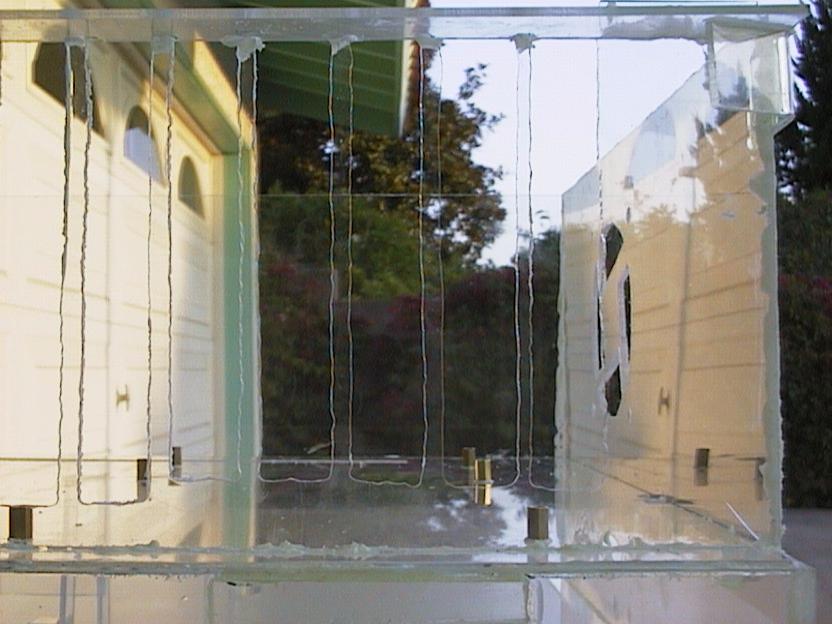
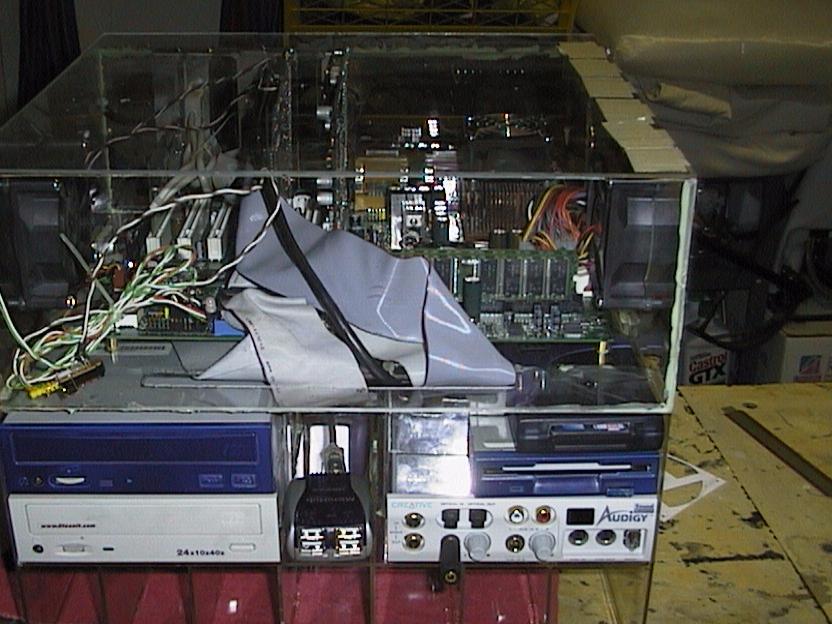
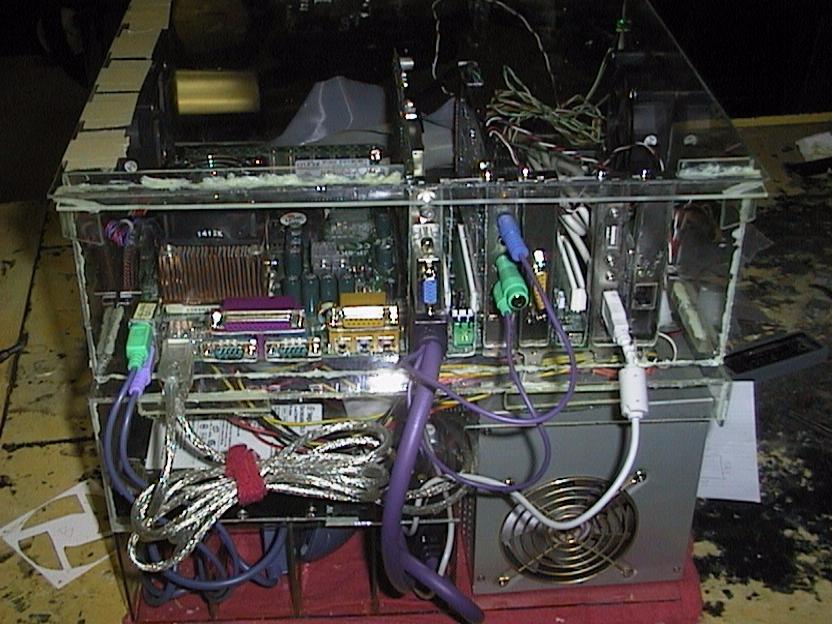
And so, production began. As you can see in the first picture, I bought some 36x48 pieces of acrylic, 2 to be exact. They were on sale at OSH hardware for 22 bucks each, which made this whole project possible, otherwise I'd have had to make it out of aluminum. The next 7 pictures are of the equipment I used, the bench, the dremel assembly, the plastic welder for making bends, and the paint booth. Also in there, you can see the main shell of the case, with a close up of the bend. Nice stuff, thanks to my dad, the tool junkie, and harbor freight tools, for having a ton of really cheap tools. Plastic welder, 20 bucks, plug it in and hook it to compressed air. I heated the material along a line, then used the vice in the table there to bend it over. Perfect stuff. The next 3 pix are of all of the finished parts, all laid out. K people, listen to me now. The dremel is awesome, but it can't do a straight line. With it locked in the vice like that, it's close to a straight line with a ton of burrs and little dings, but freehand it's impossible to use, the acrylic melts, dries on the dremel bit, and then jumps all over the place. MESSY. Well, it wasn't until about the last 2 or 3 of those pieces did I think to make a cut with a box cutter and then break it over the table. Nice clean cut, easy to do. Only problem, if you need to cut like a square out of something, you have to do one side on the dremel, and the other by breaking, you can't break more than one side at a time. Make sense? It should. The next 4 are some pictures of a more completed assembly, which all together, took a ton of time to put together. You can see the bottom level there, it's this cross cross, interconnected design, and it's really strong. Think I-beams. It adds a huge level of strength to the whole structure. The next three pictures really show how the dremel works. These were the pieces for the back of the motherboard, where all of the ports and slots need to fit through. As you can imagine, it's very complicated. You can see what a cut with the dremel really looks like. There's a pic of the hole I cut for the fans in the side of the computer, which turned out pretty good. After that, just some pix of the almost finished assembly, all that's left is the little doors for the storage compartments, the lid, and the feet on the bottom. There's also another view of a bend, you can see how sweet they are. Finally, the next 5 pix are of the case with aprts. At this point, the top wasn't finished or glued on, but it was nice, huh? Totally a success, you can see from all angles. The last 3 pix are of the CPU chimney, the hinges I used for the compartments, and the fans on the sides with their guards. What a masterpiece.


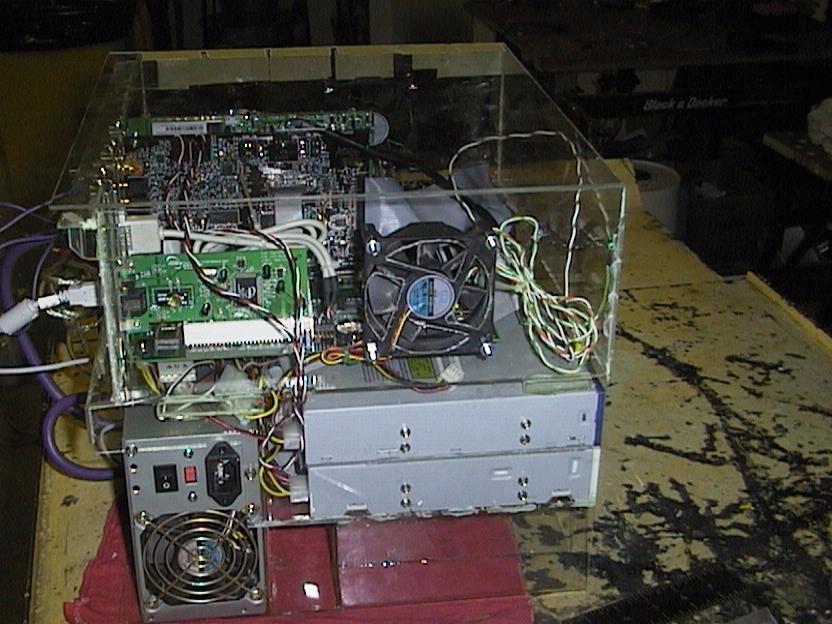


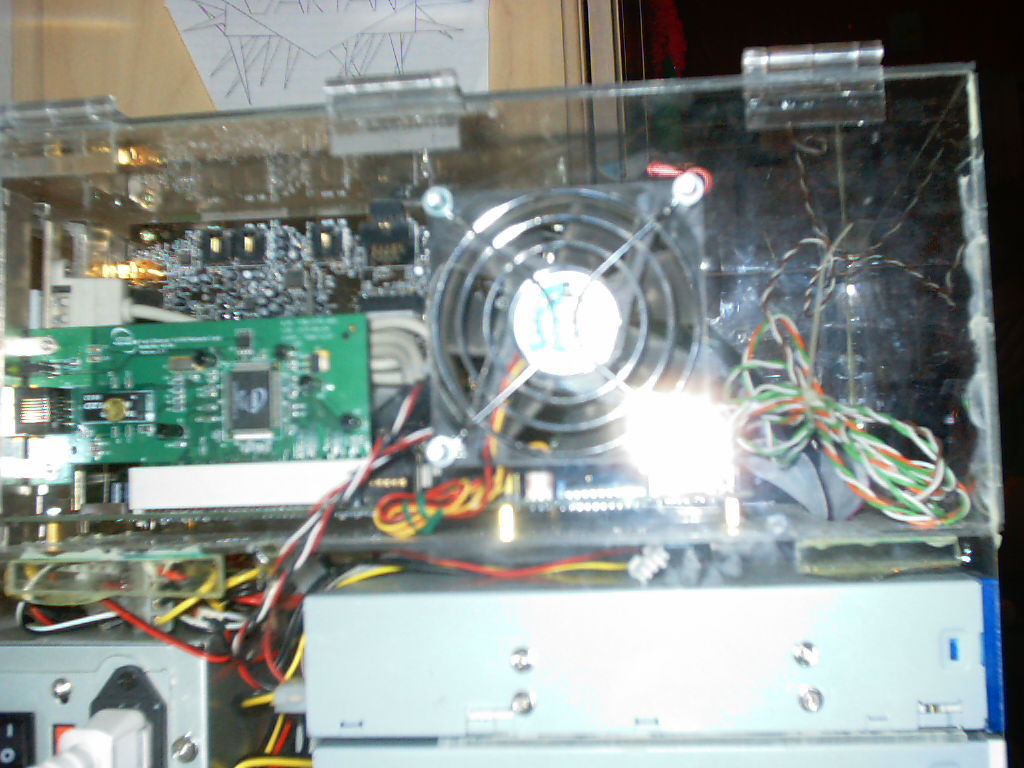
So now let's talk about what I learned in making this, and what I'd change if I were building another. First, use the dremel as little as possible. Second, the right glue is important. I used 3 types, white epoxy (Strongest, ugliest, dries chunky and in 1 minute so it's tough to use on long edges since it takes long to spread, but I glues 2 test pieces at 90 degrees and tried to break them, the acrylic, not the joint, broke) clear epoxy (Dries in a half hour, looks good, not as strong, can pull it apart by hand) and acrylic solvent (melts the 2 pieces together, good for large flat surfaces but not edges, need to be absolutely smooth when you glue, dries in 30 seconds) You can imagine what's best for what. Let's see, there's an old carpenter's saying that everyone should follow: Measure twice, cut once. Rules to live by. Some of the holes I made were off, and I had to enlarge them to fit the screws, and when I made the height of the case, I didn't account that cables stick out of the tops of some PCI cards, so I had to make a hole in my lid for them to poke out a little. I'd have added 1/2 inch to the top had I had the forsight to know that. Another thing I didn't really think of when I designed it was getting the parts in. I actually, when putting drives in, couldn't push the cables in the back in, so I had to make a new hole in the panel the motherboard sits on for me to get fingers in and push the cables in. Also, it's tough to angle the power supply in, I may make the height of that compartment a little bigger, and put more room under the hard drive so it gets more air. Let's see, what else? Less dremel, for sure. Other than that, I'd say I'm happy with the whole thing. The results so far have been as planned. Before, the computer would idle at 113 degrees F for the CPU and 80 for the chassis, now it's 86 for the CPU and 103 for the chassis. The chassis temp rise means nothing, the important one is the CPU. I've never seen it go above 96 degrees so far, although the temperatures are now highly sensitive to the room temperature. When I'm in here, the space heater is on and the room is 90, the temp is usually 93. If I'm out, I leave the window open and the room temp drops to about 75, then it's about 86 in there. I'm thinking about making ducts to direct air from outside my window next year to try to separate my temperature from the case. Oh, another cool thing about acrylic, it doesn't really conduct heat, so it's good for keeping heat out of places it shouldn't be. Here's some other cool stuff, with the CPU fan having it's own intake, and then the other two standard fans, one in one out, there's 2 ins and 1 out, meaning there's a higher pressure inside the case than out, allowing for better heat transfer to the air. I still have some stuff to do on this case, I'm adding a plastic fish to the inside of the motherboard compartment hanging from some fishing wire, so it looks like it's swiming in a tank, which is just funny. I'm also adding a bunch of lights and decals, and a few other things like latches for the compartments. But that's it.
So that's about all I have to say about hte case. Like the design? Gonna copy it? Don't, I'm working on a patent as we speak, and soon, I plan to work with some friends and figure out some way to build and sell them for a reasonable price.
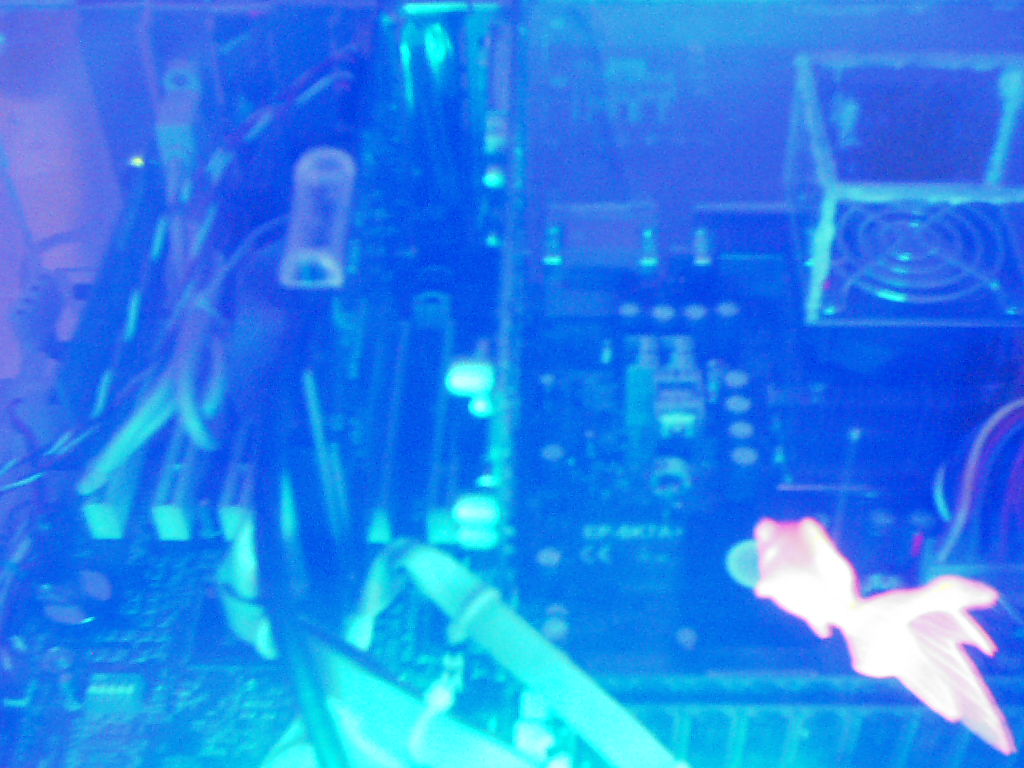
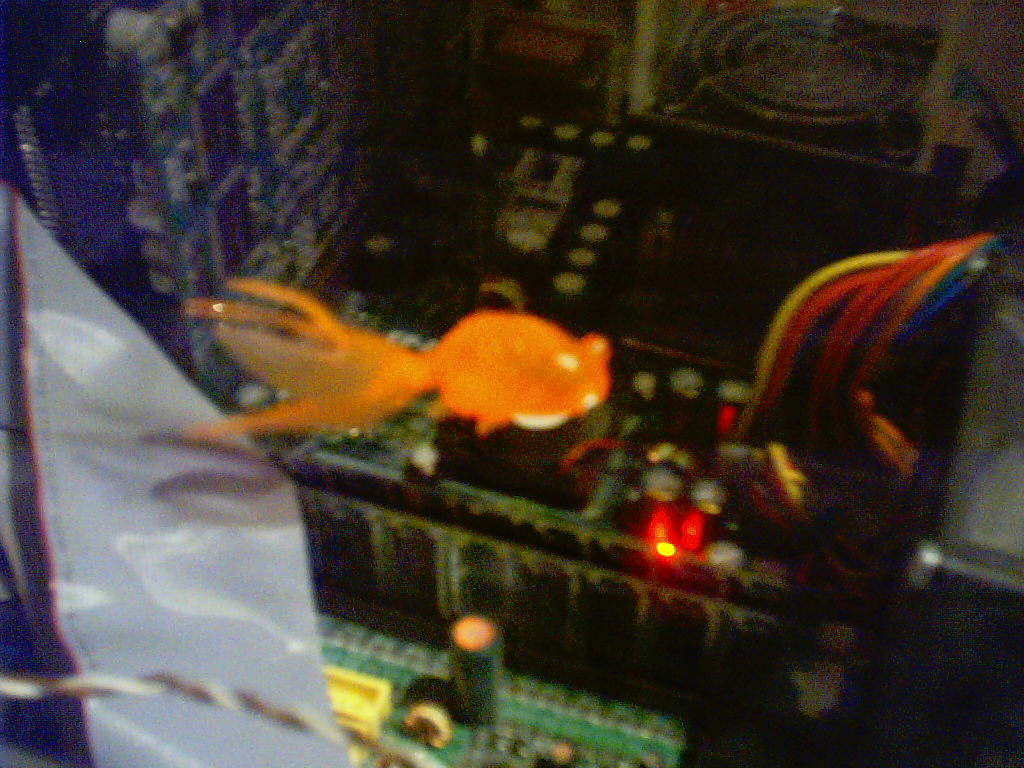
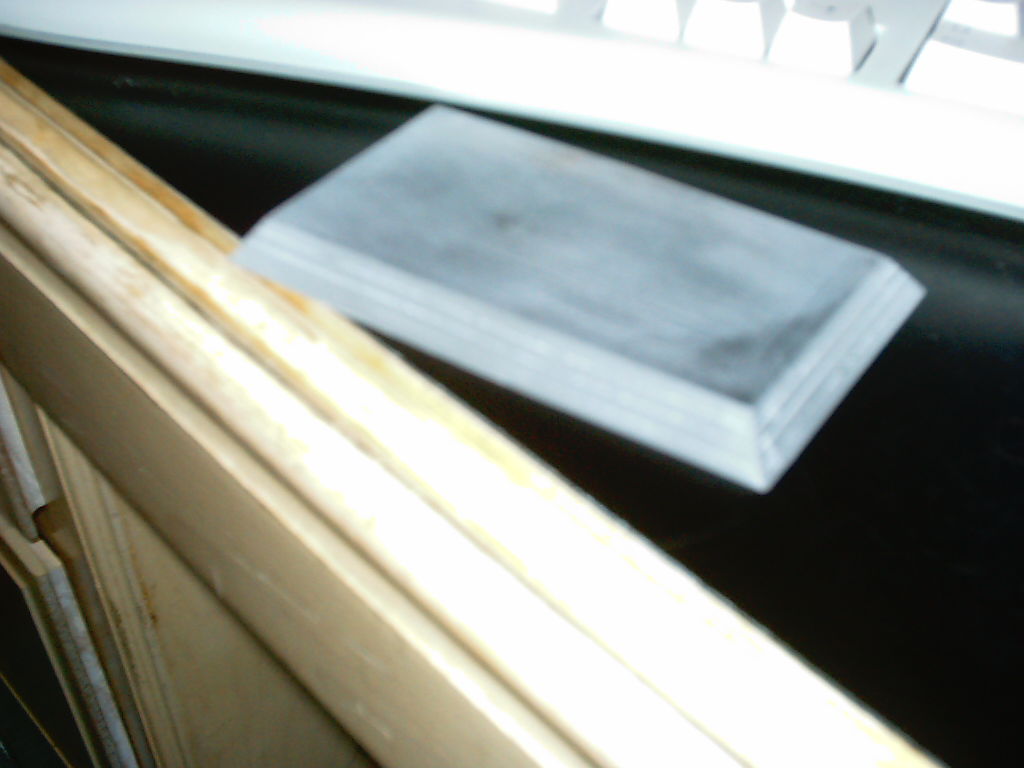
As an update, here on the 6th of September, I've ben working on decorations for the thing. Below, you see the fish, first under a blacklight, then under normal light. He's hanging from fishing wire, so it looks like he's swimming, and he moves in the wind from the fan. You can see him from a bunch of angles. Oh, and there's the plaque, which is going to have a logo etched into it, and then be lit with LED's. I ahve an LED assembly I'm working on in the back to light the case with red lights, but that's later. K, bye.


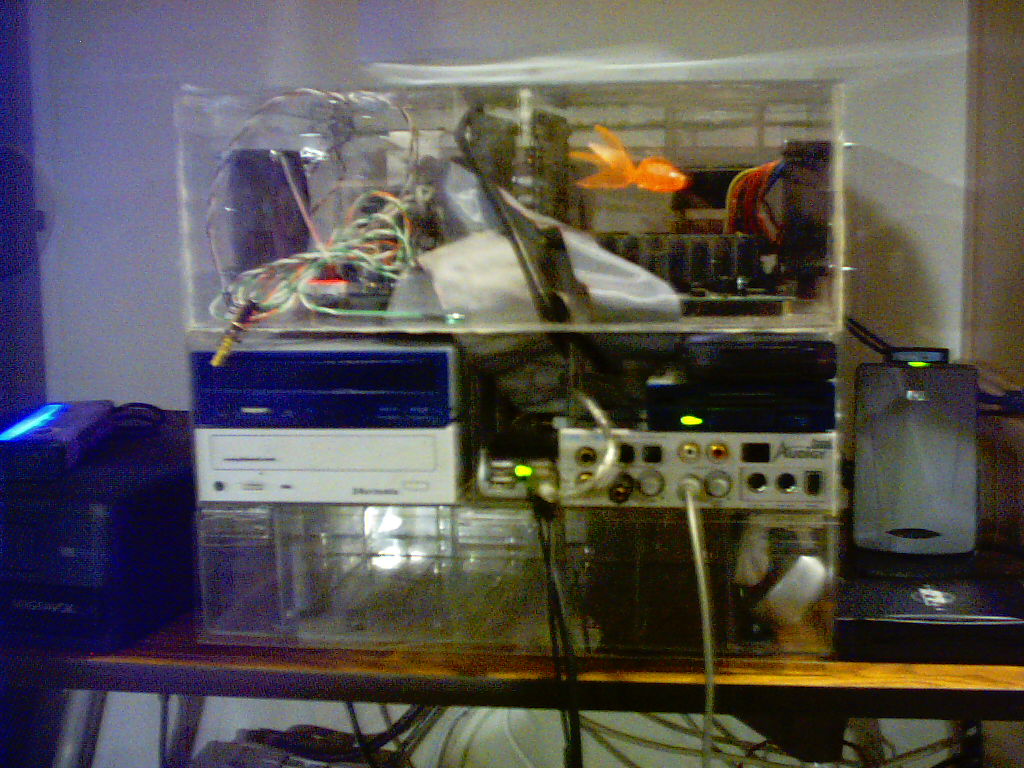
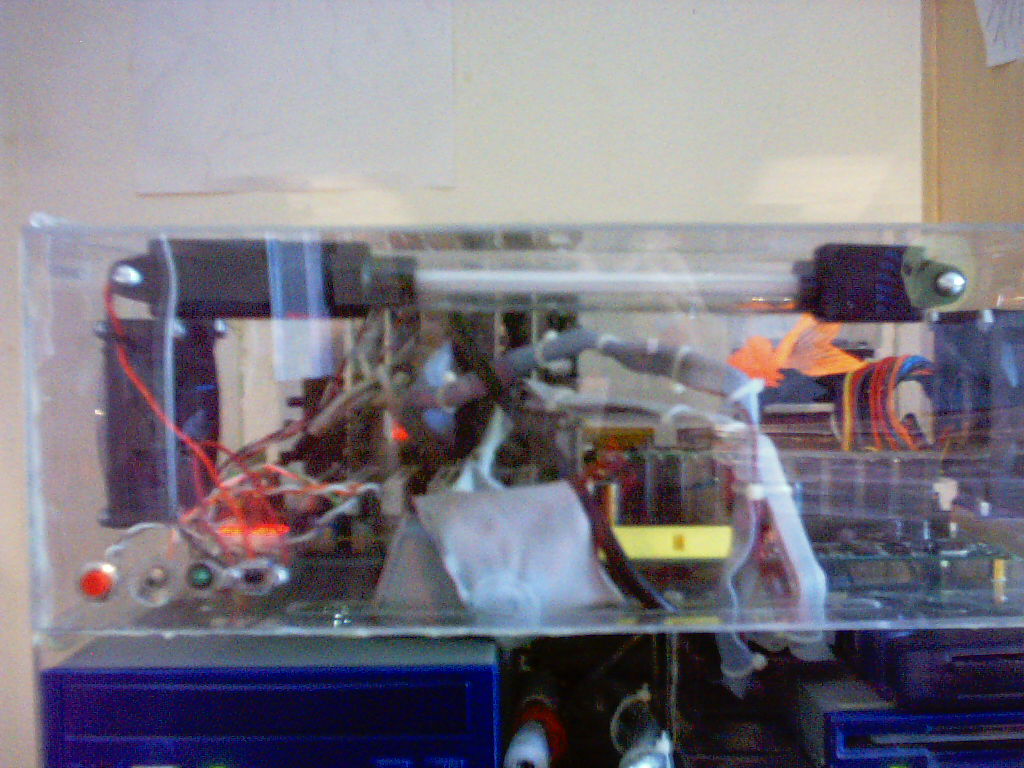
Ok, people, the case is finally done! As you can all see, I finished all the decorations. I also did some more stuff to make the case better in general. Let's go through the pictures. First, picture, albeit blurry, is of the button panel on the front of the computer. The left one is the power button, the one next to it is the reset button, the LED next to that is the hard drive LED, and finally there is the switch for the lights, which I'll talk about in a second. Ok, the second picture is of the front of the computer with lights off, you can see that there's not as many ribbon cables, which I'll explain in the next topic. You can also see the cathode light which is mounted but off in the picture. Ok, picture 3, you can buy rounded IDE cables for like 10 bucks or more, but why when you can do this with tir wraps? This allows for better air flow past them, and makes them look better. Now, finally, the last 2 pictures are with the amazing light. I'm sure you're all wondering what happened to the red LED's, but here's the story, Jason and I were in Frys looking for stuff, like these 80mm case fans with colored LED's in them, and they were out of everything, like the fans, and momentary buttons, and anything. So, we're on ur way out, when out of the corner of my eye I see a blue computer with a window and a lue light. Upon immediate inspection, I learn that there is a blue cathode light in there, and I inquire about it with an employee. He tells me they usually carry them, but he didn't think they had any left. I decided to look anyway, and lo and behold, there was a blue one there!!! This is great news, especially since I originally wanted blue, only blue LED's are hard to come by. So, I got it, put it in, and as you can see, it really makes it look like a computank now. SO the project is finished today the 13th of September, and I hope you all enjoyed going along with me on this project. Thanks to everyone who mailed me!!!